CELEBRATE SOUTHERN: Home Map Decoration

As the Christmas decorations are packed back up in large plastic boxes for another eleven months and the tree lays curbside… I find myself looking around semi-cluttered home {I’m honestly not sure if we are hoarders or if we are just lazy} thinking it looks pretty drab now that the holiday festiveness is gone.

Additionally, as a professional planner, I have been finding myself organizing all sorts of calendars, weddings and appointments for 2015 - all while wondering what adventures and vacations the year will have in store for me.

2 cats & chloe: pin the countries you travel to, gift for traveler, DIY home decor 2 cats & chloe: DIY home decor for a traveler

Three years ago my husband made me an extremely heavy DIY map. You see, I had fallen in love with the idea of pinning. Both on pinterest and in real life. I had seen this idea hanging in one of my college roommate’s house. I casually mentioned the idea to my at-the-time boyfriend {aka my future hubs.} We found a map that we both liked, with the intent of one day making a decorative DIY map. Years went by and this project was pushed aside. Then out of the blue, when I was expecting an engagement ring for Christmas, he gave me this giant world map. {The ring showed up a month later.}

2 cats & chloe: how to decorate with maps

Unfortunately due to moving and the actual size of the ginormous map - we didn’t hang it until this past year. While I wasn’t really too keen on having it in our living room, we really didn’t have a wall big enough to fit it anywhere else. Turns out, I love it exactly where it is!

2 cats & chloe: DIY Map Decor 2 cats & chloe: Map Pins for Traveler

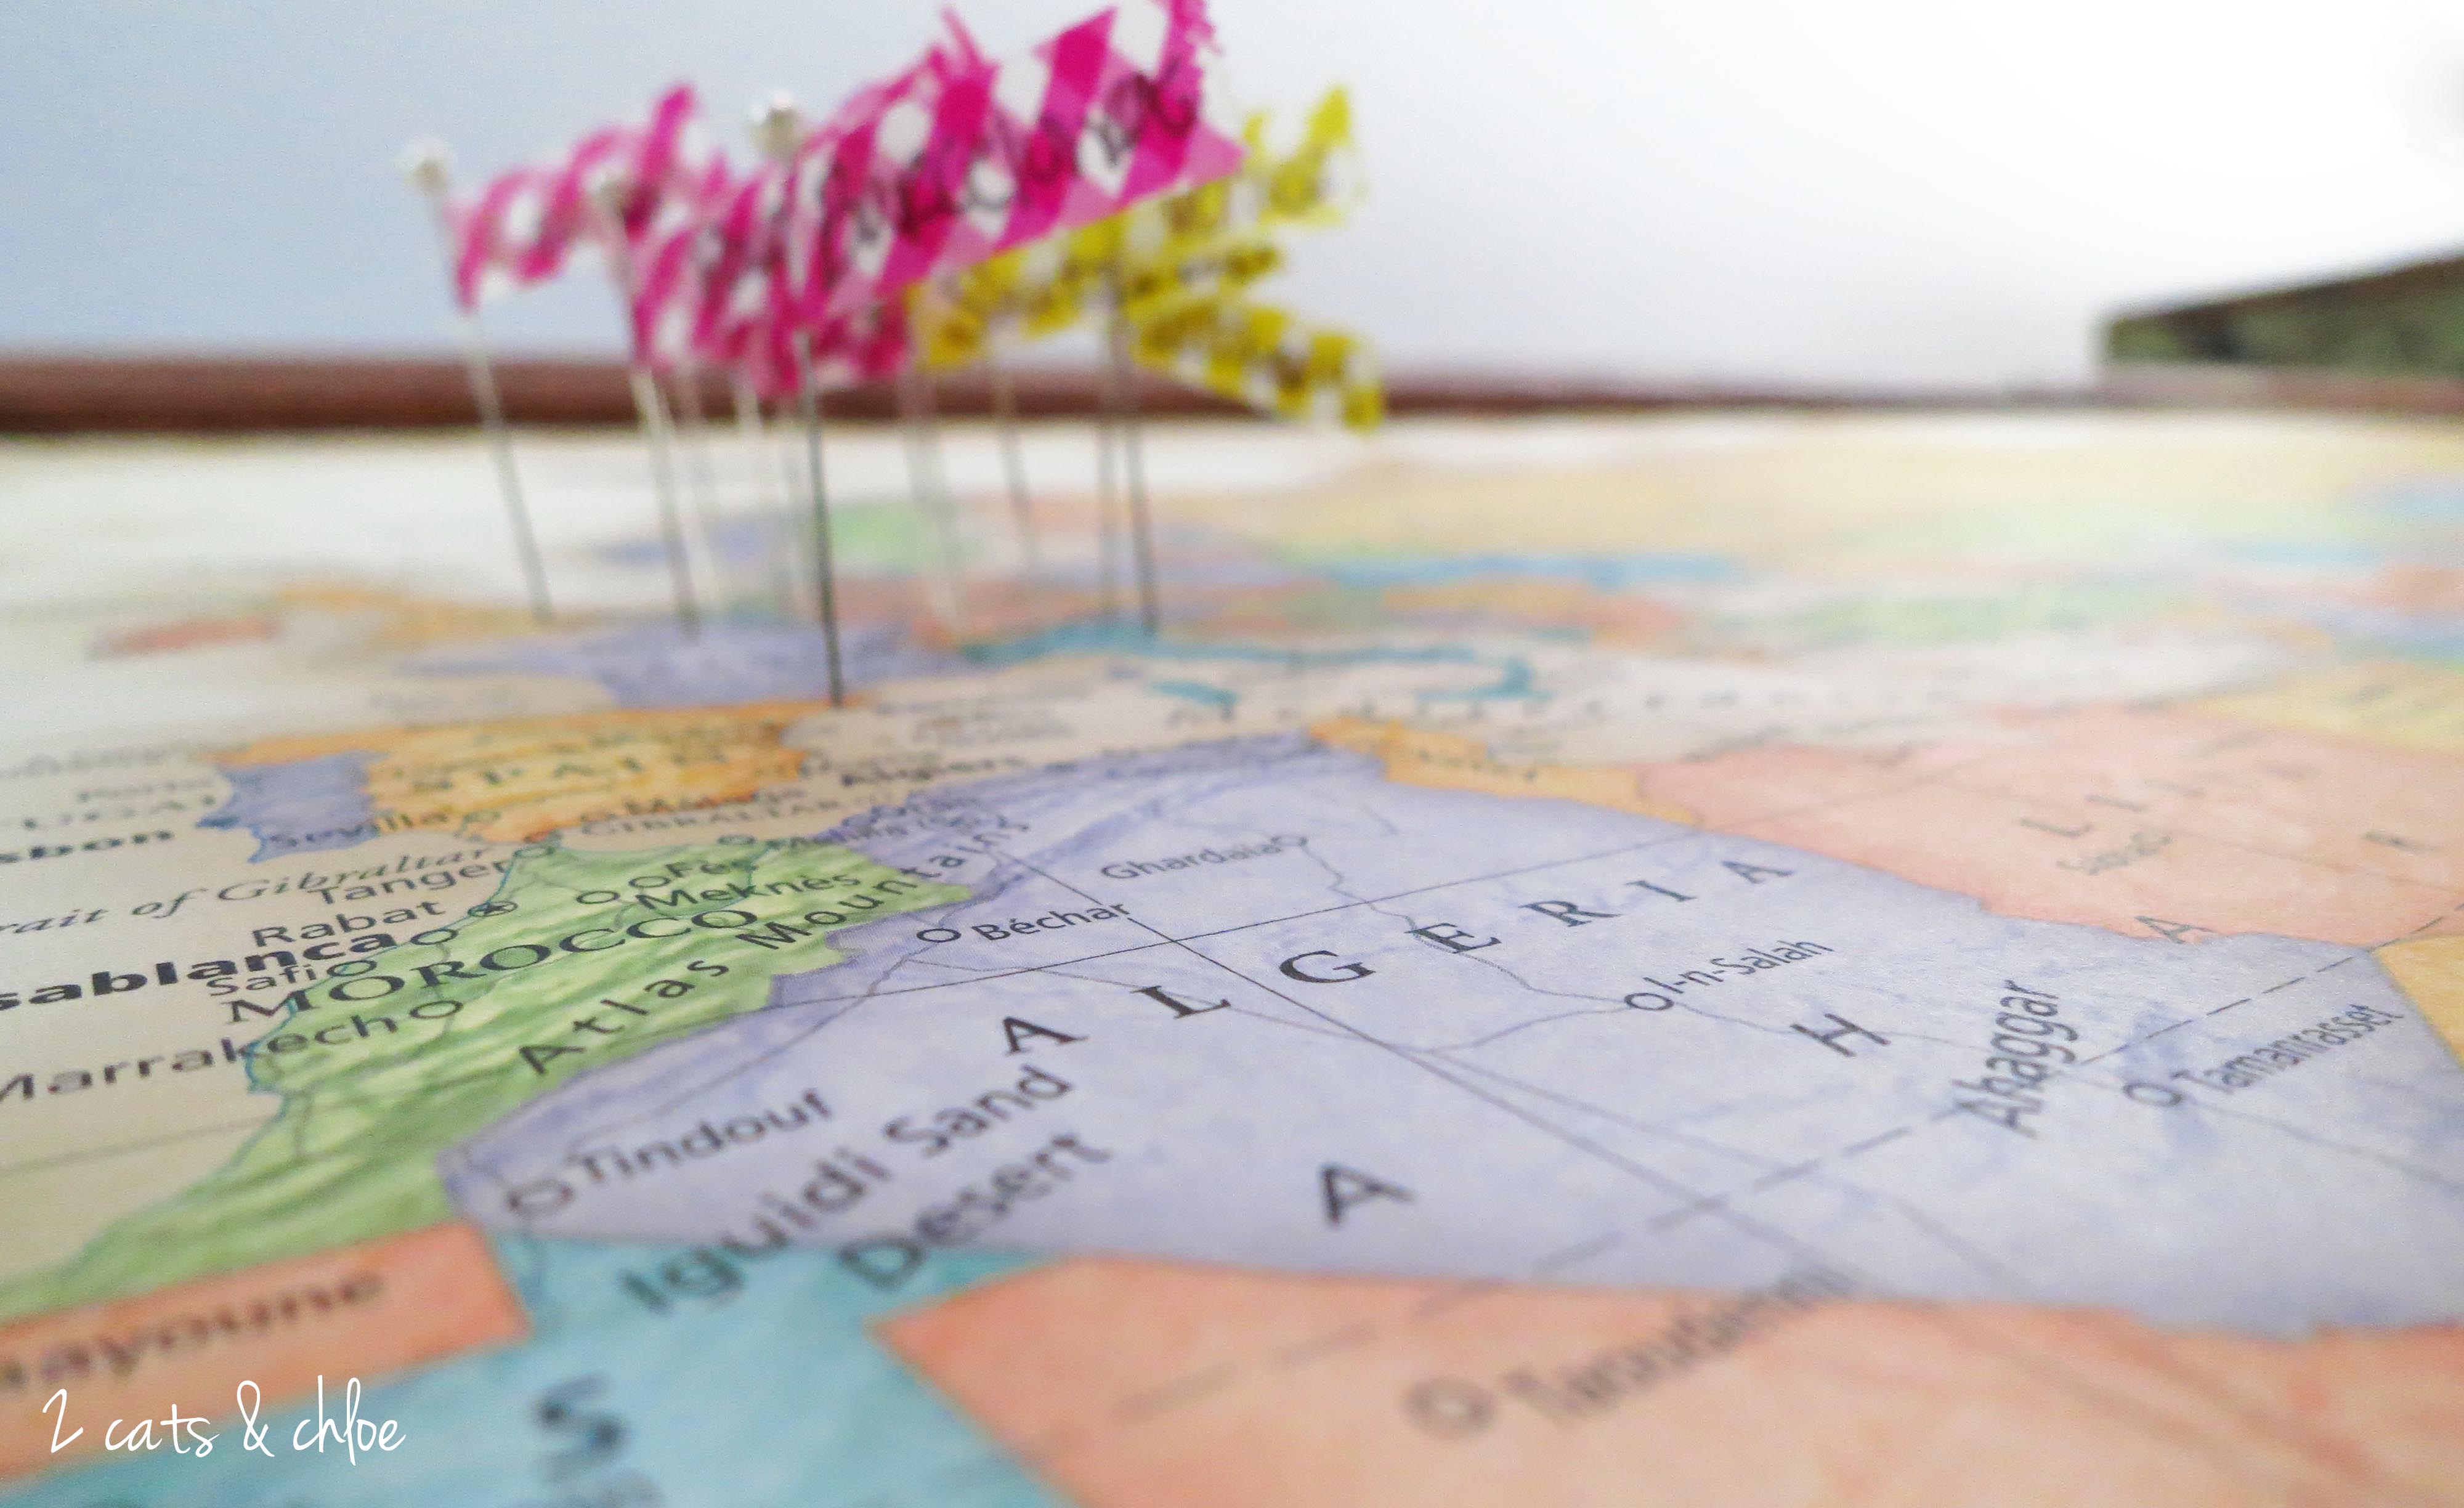
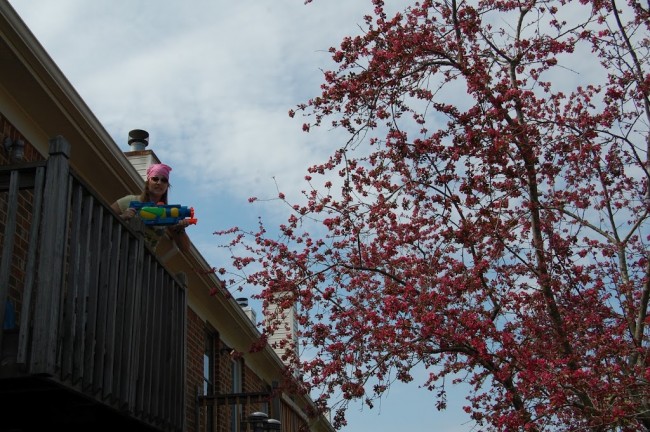
This DIY world map decoration is such a fun way to document and record the many places we have been. My pins are obviously pink. His pins are blue. And the yellow pins are for places we have both visited.

It took some debating when it came to the “rules” behind the pins. Like, if we have both been to a city/country but maybe not together, is it yellow or do we need a separate color? And when it comes time for kids, do we pick a new color for family travel? Does a layover count? Is there a minimum amount of time you have to be in a country to receive a pin? Or what about country verse state vacations? That last one was kind of a free for all because most of the places we have been to are cities/states and on a map this size, it’s just way too hard to decipher the exact pin location.

2 cats & chloe: DIY gift for travelers

Want to make a map like this for yourself? Here is what you will need:

  • A map. We went with a classic look like this.
  • Pins. I wanted all white. And the longer the pin the better.
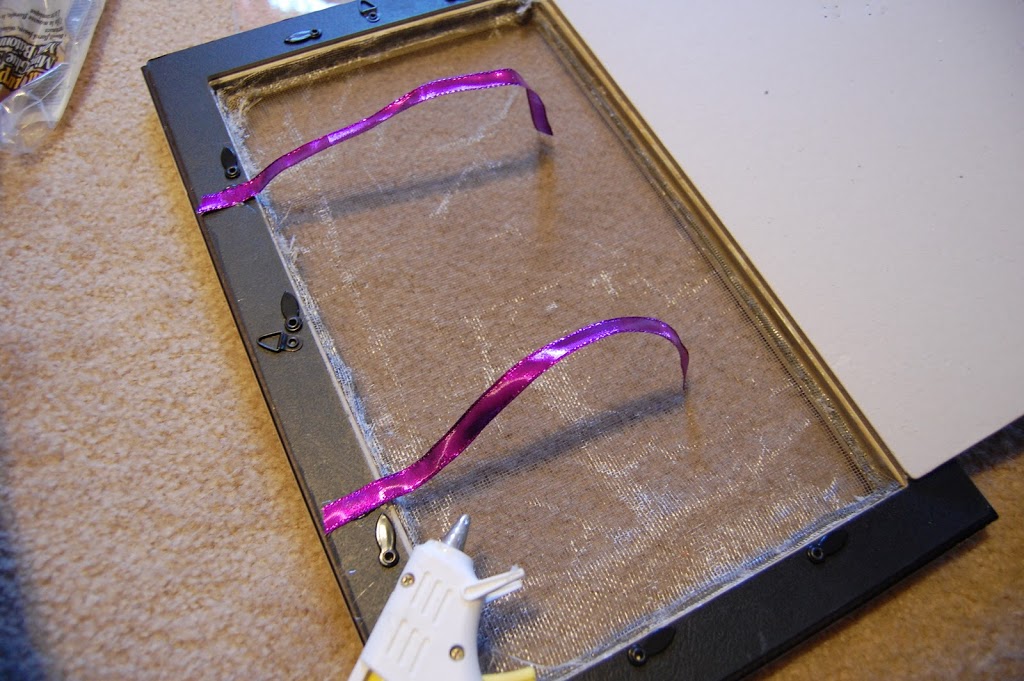
  • Washi tape for the flags. I went with a narrower tape.
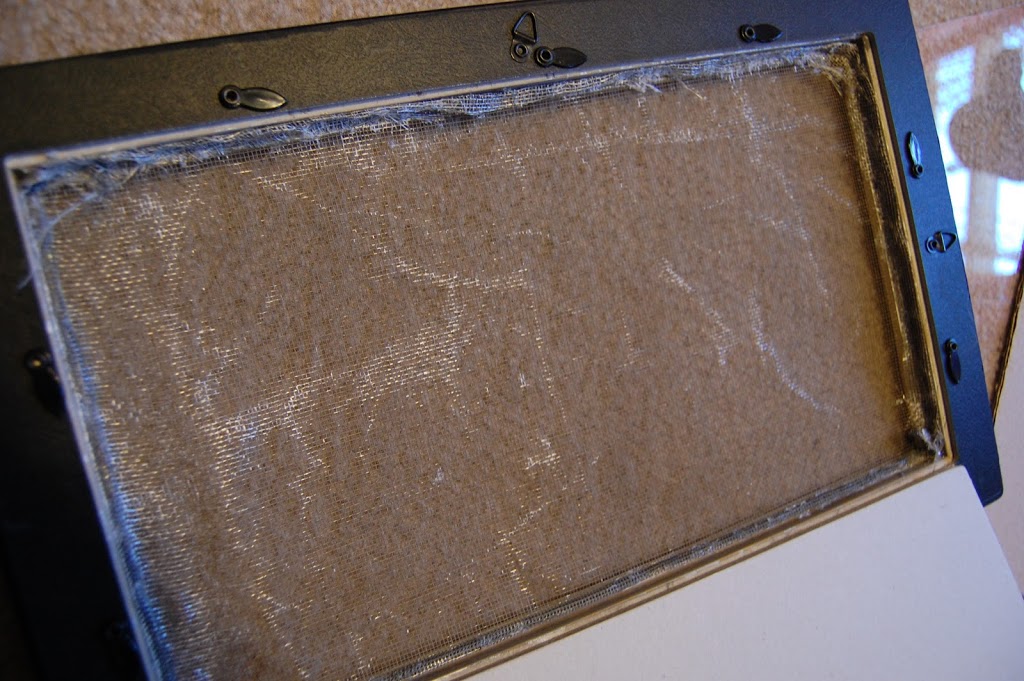
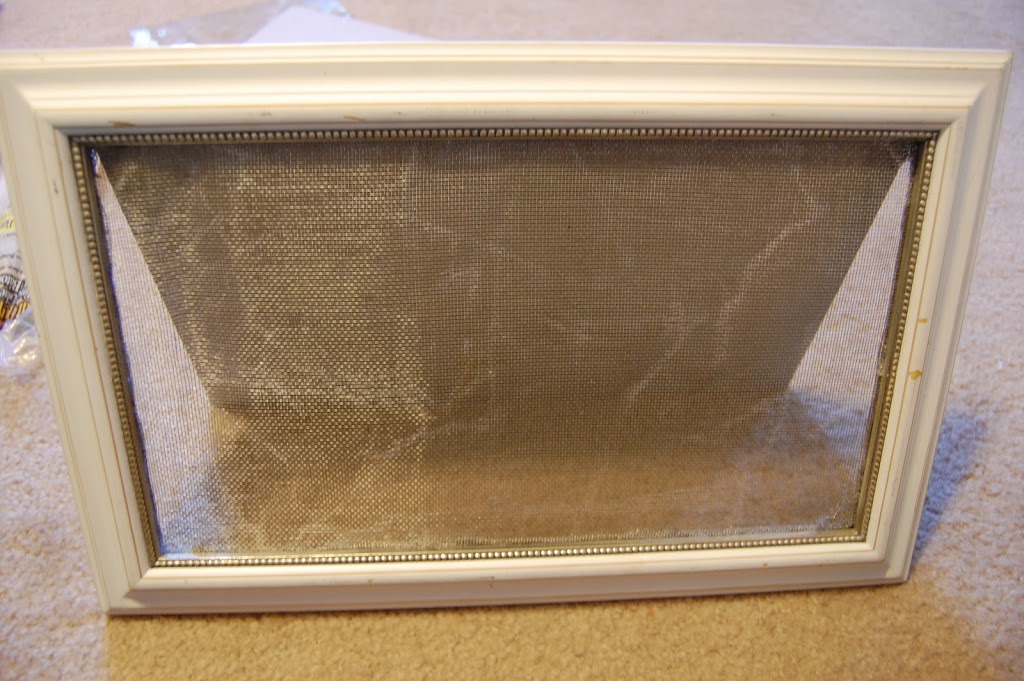
  • Cork for behind the map.
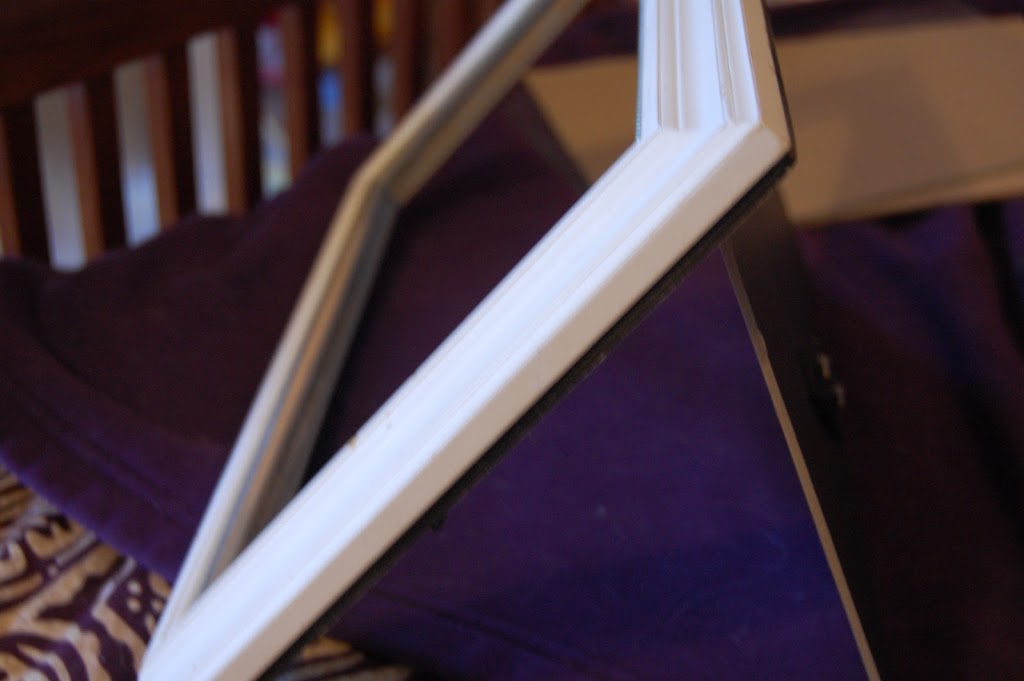
  • A frame (or you could make one yourself like my husband did!)
  • Glue. The type you use depends on if your map is laminated or not. My map isn’t laminated - but I almost think it would’ve been better if it had been. You can see some bubbles in mine where the glue dried funny.
  • Note: You could also make this on a smaller scale… maybe you aren’t a world traveler, so consider one from your own country. And while ours is awesome, and visible from Mars, you do not necessarily have to do one this big!

I love sitting on my couch and glancing up at this awesome map. The colors are perfect and the memories are outstanding. Now I just need to work on getting a few more pins in some of the “empty” spaces. Bring it on 2015… bring it on.

Southern Bloggers Linkup Celebrate Southern

Don’t forget, it’s time for the Celebrate Southern Linkup! Grab a post, any post, and join the fun. We would like to see your southern inspired home decor, crafts, food, vacations, fashion or even pets!

Keep in mind too: The Celebrate Southern Girls now have a podcast! You can listen to our first episode on the right hand side of my blog! Episode One is about blogging goals! I excited because I have heard great reviews from folks who have been listening! Next week we will be sharing Episode Two: How to Make Bloglife Easier.

Have you ever decorated with a map? If you could put a “pin” {i.e. vacation spot} on my map - what would you recommend and why?

Cheers and Love,

Suz


 Loading InLinkz ...

CELEBRATE SOUTHERN: DIY Jewelry Stand

Do you ever have those days where you feel like crafting but real life gets in the way? Days when you would give an arm and a leg to just play with some glitter and use a hot glue gun for 30 minutes? Today was one of those days for me. I did not have 5 free minutes to do anything other than work, house chores, and googling things about border collie puppies. Priorities right?!

So today, I am recycling a very old post. And when I say “very old” I mean it dates back to at least 2011 when my only reader was my mother and anyone who googled me from my online dating days. I am not a huge fan of recycling posts, but this is a project that deserves a bit more press. Yes, the pictures are super sucky, but I use this jewelry stand every day, and I think you may love it. So let’s Celebrate all things Southern, with this really fun blast from my past: the anti-jewelry box solution.

2 cats & chloe DIY Jewelry holder
{Cue the flash back music to Pre-Taylor-Turns-Pop and Pre-Marriage…}

Yesterday you got to see the inside of my messy bathroom and what I did to help organize my necklaces without using the infamous jewelry box. But what about the pile of ear rings? I like to keep my jewelry out, so I can see it, and decide which item I want to use to accessorize my outfits. I’ve been looking for a decent earring holder to display my collection. I have been searching online and in stores for quite some time, but I can only find ugly and/or expensive holders. And there is just something I don’t like about paying $15 to $20 for a small frame like thing with some wire mesh on it. Just like any thrifty (and crafty) tightwad I decided to make one myself!

2 cats & chloe: Messy Jewelry, Jewelry Box Solution
I found a frame last year at the church yard sale for a mere $1. I had no clue what I was going to do with it, but figured it was such a slick deal I had to get it (along with about 15 other dollar items!)

Again, I didn’t know what I was going to do with this frame, but I really lucked out when I discovered that the backing of the frame was one that was attached to the frame itself. Notice how it pulls out in the picture above (right side). This was exactly what I needed and had no clue when I bought it!

So here’s what you need to do: Take the frame apart by removing the glass and any cardboard that might be in there. Pull out your glue gun, as well as your cat for any kind of assistance you may need. I got some old screening (for windows) from the garage and trimmed it to be a little bit bigger than the piece of glass that I removed from the frame.
Simply run the glue gun along the edge of the frame and press the screen into the glue, making the screen as tight as possible.

And then stand it up and take a look! Ta-daaa! Not too shabby if I do say so myself… But wait, we are not quite done!

I wanted to be sure that my earring stand wouldn’t collapse or fall over so I found some scrap ribbon to use to help secure the backing. Any good crafter keeps a stash of scrap ribbon somewhere in the house. I just so happen to be a JMU Duke so I have purple ribbon just about everywhere!

Glue the ribbon the to edge of the frame and then to the back of the backing. It really doesn’t matter if it doesn’t look pretty. No one is ever going to see this. {A note from the future: seriously, no one will see the back of this piece. They will oooh and ahhh about how cool it is, but don’t waste your time on glueing prettily. No one checks out the back of your stand.}

Now when you stand it up, it cannot slide open or collapse any further than then distance of the ribbon. (Just keep in mind when you are choosing the length of the ribbon, you need to be able to get your hand back there to take the ear ring backs off.) Another note from the future: Here’s a tip - don’t worry about the back too much… if they have the inexpensive clear plastic backing, slide the earring backs as far onto the earring as possible, that way you don’t have to deal with putting them behind the screening.}

diy jewelry rack
So there you have it! The construction of this ear ring stand only cost me $1 for the frame! And I had screen scraps and the ribbon around the house. If you have to go out and buy the screening I’m sure the cost would definitely go up. But ask around before you do that. It’s amazing how many people have old, torn, unusable window screens that are in the attic or garage.
Now, to see the finished product, fulfilling it’s life purpose:

DIY Jewelry Organizer DIY Jewelry Stand

Ah, so there ya have it. A blast from the past, but a good ole classic project that I still use ALL THE TIME. I am in the process of upgrading to a larger frame, so I thought this would be a terrific project to recycle for the Celebrate Southern linkup! Now it’s your turn to join the fun! Grab a blog post… any blog post… well, any blog post that belongs to you! And linkup! No, you do not have to be a Southern Blogger… we just love Southern Inspired projects, fashion, recipes, and life in general!

Southern Bloggers Linkup Celebrate Southern
Grab the button or simply ink back to J from Bless Her Heart Y’all and/or myself — and then have some fun! Holler back at either of us if you have any Q’s about this super fun linkup!
 Loading InLinkz ...

Thursday’s Memorial Weekend Recap

What’s the best part of blogging, you ask?  It’s the fact that you get to make your own rules.
Rules like recapping a holiday weekend on a Thursday.  No, unfortunately my weekend did not last until now.  No, I was not swept away after our Summer Kickoff Blog Series.  And no, thankfully I am not so incredibly sunburnt that I cannot type.
I’m just busy.  
Crazy busy actually.  Last weekend was my last free {read: not-working-a-wedding} weekend until mid-july.  You can bet your bottom dollar that I will be doing NOTHING when I actually have a free weekend. 
So of course I spent every second of Memorial Weekend, simply, enjoying myself.

Can you tell we are sisters?  {don’t even ask - we aren’t twins. but we do both thoroughly enjoy champagne on the river.}
The weekend wasn’t all play.  There was a bit of work.  But work that didn’t involve weddings or brides or real estate or marketing or home warranties or house chores… 

I volunteered to pressure wash our dock.  Yes.  You read that right.  I volunteered.  

There is just something absolutely nerdy, deep inside of me, that loves pressure washing.  I’m not sure if  it’s the misting water, the fact that it’s actually a great arm workout, or maybe it’s just the thought that I am “making something pretty” that causes me to adore this chore.  
Seriously.  It’s hard work.  But I consider it to be the adult power tool version of those painting-with-water books from our childhood. 
Without glitter this time, I did leave my mark.  And the year.  #happysummer

There was a little bit of boating… just a bit though.  We didn’t get too carried away this weekend.  Do you see that hunky dude below?  And the hat that Sandlot’s Smalls would be jealous of?!  Shortly after this picture was snapped, that hat went flying.  The hubs could’ve cared less.  But what does this girl do?  She makes him turn the boat around! {we are on a budget after all!}
It was his first time driving the pontoon.  Circling back and getting close enough to said hat was not an easy task for him.
Only because there was no other choice - I had to jump into the middle of the river, full of cold h2o and rescue this flat brimmed hat.  And that’s when summer started.
{Of course, only to be warmed up later with some more champagne in the sunshine.}

Remember how last week I told you that this cottage is over run by k9s?  Well friends, we’ve hit an all-time low.  (Or all-time high if you’re talking to one of the dogs…)  After 8 summers, BrownDog discovered the porch swing.  This is where she decided her time was better spent relaxing than chasing the ball.  
#snoozinandtreats  #treatsandsnoozin

And just an FYI - I may be moving away from the summer in a cup… and embracing a Chocolate White Russian made with Dark Chocolate Almond Milk. 
#delicious #nolactaidpillnecessary

#riverhair 

So yeah.  Life is a bit hectic right now.  I swore to my best friend that I would continue blogging and writing because I love it.  And she says she loves reading it.  But as wedding season is in legit full-gear and my house is under construction {we’re redoing our floors in addition to a few other things in hopes of getting it on the market ASAP!} please be patient and maybe just read some blog posts from a few May’s ago.  Use your imagination and pretend they are from 2014… not that much has changed in my life right?!

For the love of the riverhair and chocolate russians in my cup!  
Until next time… xxoo

Caterpillar Warfare.

Oh the adventures in homeownership.  It never gets old.  Whether it’s a leak during a monsoon, a much needed paint job, or the dreaded annual caterpillar infestation (mentioned here)… it never gets old.  Or maybe it does.  I still gotta find that silver lining.

He looks harmless.  Like he might be sleeping.  But he’s just hiding his fangs from the camera.

Any-hoo.  It’s time for a quick story!  Ever since I was a little munchkin, I have been terrified of caterpillars.  You know those furry, wormy looking things that climb on just about anything, that could easily get lost in your hair and you’d never know?  Yep.  Them.  I hate ‘em.  Just my luck, the first home I buy has a tree that annually houses millions of tiny little caterpillars.  About a month after I moved in they showed up and took over everything!  The deck.  The tree.  The fence.  The yard.  The balcony.  Then they started marching their little caterpillar feet in the house!  Thankfully they only last a month or so.

Kicker is - the darn suckers don’t even turn into pretty butterflies!  

They start like this - then they work their way down the tree, onto the deck, and into my hair.

As the years have passed, I have learned to keep a lookout for these critters come March and April.  And I boy have learned how to take care of them.  With a squirt gun that shoots bug killer 40 feet.  What other options are there?

After work one day last week, while my mom was here to document the activity for great blogging of course, I decided it was time.  I needed to catch kill them before they made their precious little way down the tree.  Of course a wardrobe change was necessary.

I went from this: 

To this:
(If you were a caterpillar, you’d go running for the hills wouldn’t ya?)

Chloe wanted to help, but I told her it was only safe for her inside.  

The supplies.

Thankfully I have a balcony off my bedroom.  Sadly, this is really the only time I use the balcony each year.  Otherwise a ladder would be necessary - which would’ve gotten me too close to the creepy crawlers.  (Notice I have my game face on?) 

Please note - chemical warfare is never recommended.  This act is only for the trained caterpillar fearing professional.  

This took care of them.  For the next 24 hours dead caterpillars continued to fall like rain from the tree.  And I haven’t seen any c’pillar creeping since.

Now, don’t get me wrong.  I do not condone killing innocent animals or critters unless it is 100% necessary.  If said critters plan to invade your yard, deck, grill, home, and hair… that’s another story.

So to recap - a girl must protect her home.  But I’ve learned - Caterpillars are one thing.  This girl is pretty sure she is no where near ready to take on Zombies.  :)

I hope you have all had a safe, caterpillar free week so far!  xoxo - Suz

It feels like summer!

Oh Em Geeeeee.  I LOVE warm weather!!  Did you realize how warm it is supposed to be today?  80 degrees here in Chesapeake, Virginia.  We are finally catching up to the temps that my friends in Australia have been enjoying!  (But it’s such a tease because the next few days will be back in the 50s and 60s again… lame.)

Anyway, before I head to my meeting and then take the top off my jeep (after work… of course…) I wanted to share my It-Feels-Like-Summer Craft!

This one is super easy and I get sooooo many compliments on it!  In 2006 when I traveled to San Antonio, Texas I saw something similar.  When I got home I knew it was going to be on my crafting to-do list!  Check it out:

diy ribbon wreath

Please excuse the fact that it is a little faded (it is several years old…) and the door with paint peeling off of it.  (The neighborhood association has yet to catch me on that!  But it is also on the to-do list, don’t worry.)  So what do you think?  The supplies are simple!

- A grapevine wreath (I got a bunch on sale at Ben Franklins for only a few dollars each)
- Ribbons galore!  All types of colors, prints, patterns!  Whatever your heart desires! (I recommend checking out the dollar section at Michaels… they have some cute, cheap options.)
- And scissors!  That’s it! 
Pick your ribbons!  Like I said, be creative!  I have made a few of these wreaths before.  I love my colorful random one shown here, but it might not match everyone’s houses like it does mine.  I made a red, white and blue one for my mom since her birthday is July 3.  And I made one for a little girls room, with a smaller grapevine wreath, with pink and yellow ribbons.  You can also cut the ribbons to be all different lengths.  Most of my are close in length with a few random, shorter ones.
colorful ribbons

No glue necessary!  All you have to do is double the ribbon and loop it!  Fold it in half and loop it through so it knots on.  Easy Peasey!

ribbon wreath

Scatter the ribbons around so they hang in different parts of the wreath and ta-daaaa!  You’re done!  

diy summer wreath
grapevine ribbon wreath
I guarantee you that you will get compliments on this wreath!  If you make one, send me some photos!  I’d love to see what colors you go with!