CELEBRATE SOUTHERN: Podcast + Valentine Wreath

Happy Celebrate Southern Day! Yup, it’s officially a day on my calendar, so let’s celebrate! First things first, there is a new episode of the Celebrate Southern Podcast LIVE! This week, J and I are discussing MEDIA KITS for bloggers! She is a pro on this topic so I can’t wait for you to listen in! I learned SO MUCH! You can listen along on the righthand side of my blog or right here:

If you want to see the notes for this podcast (or catch up on past podcasts) please click here.

Now how about a fun DIY project, right in time for February 14?

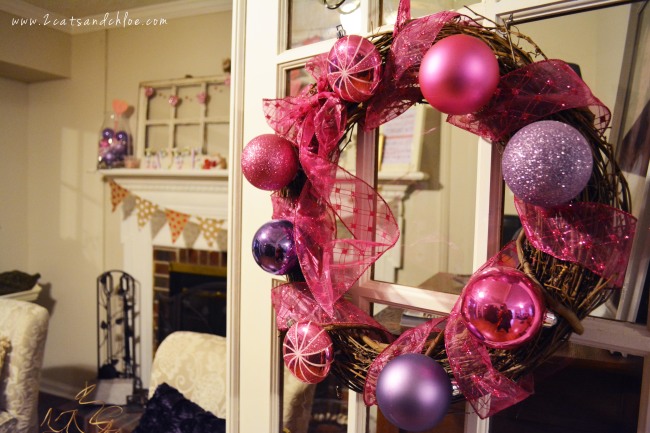
Just in case you haven’t noticed… I absolutely adore wreaths. They add a great touch of southern flair to any naked corner of your home, indoors or out. Yes, I said naked. Giggle giggle. With all of the recent cleaning and packing happening around the house - I went back and forth on whether or not I wanted to “decorate” for Valentine’s Day. I decided to just stick with the mantle and then make a cute wreath.

In case you need to check out my wreath resume before proceeding any further into this post, you can see one here, here, and my favorite spring one here!

The best part of this Valentine’s wreath project is that it is really simple and takes very little time. Please don’t feel that just because this lovely, loving Hallmark Holiday is less than a week away that you don’t have time for one last festive project. This project will take you five minutes and really doesn’t even need a tutorial. You just grab your glue gun, your wreath-y supplies, then go crazy!
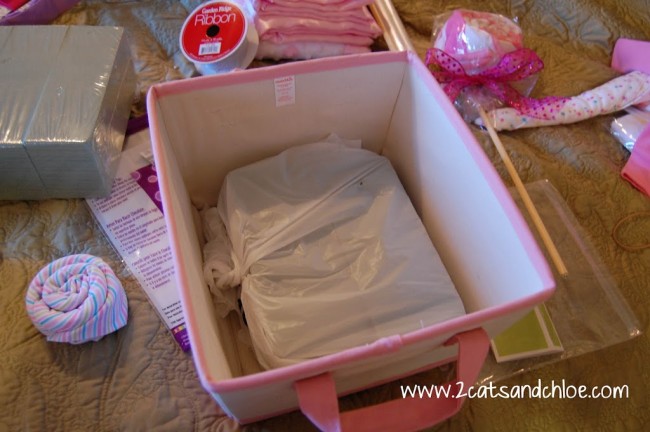
Supplies:

  • Grapevine Wreath. The wreath I used was buried in my messy craft closet. I bought about 5 of them last year when they were on sale for $3 each.
  • Valentine Ornaments (or Clearance Christmas Ornaments in Valentine-y colors!) I found mine at Walmart for $1.24 a piece… not so shabby right?
  • Hot Glue Gun
  • Ribbon (preferably wired ribbon)

Directions:

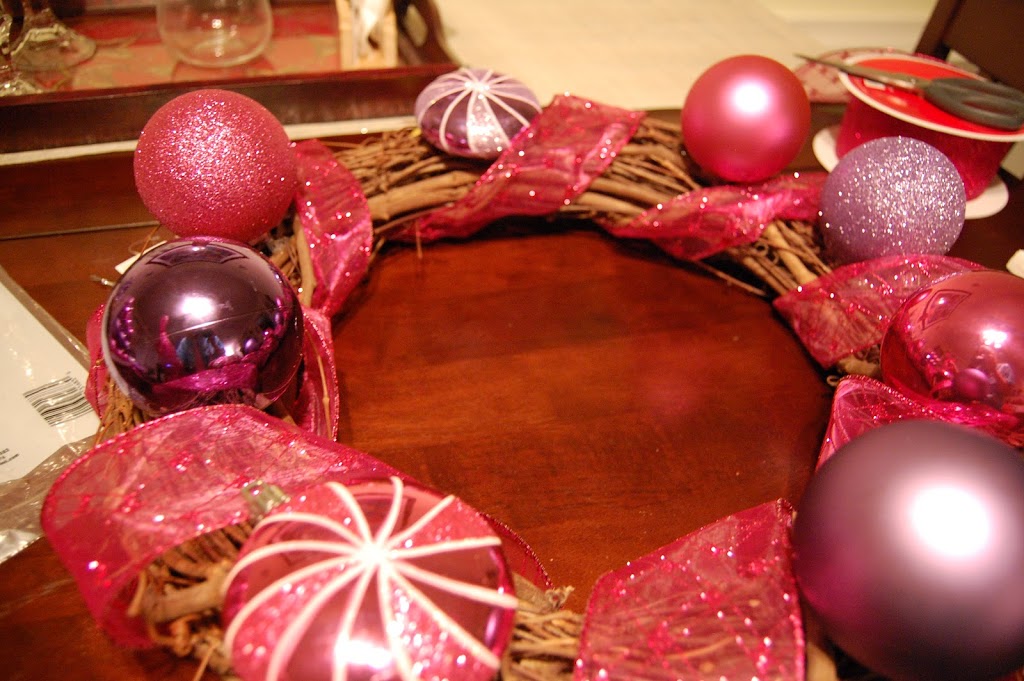
Pick your pattern and plan where you want to lay your ornaments. Again, super easy. I’m pretty sure even Chloe could’ve made this wreath if I let her use the glue gun. Once you have your color and pattern plan - start gluing! Keep in mind that you need to leave space for the ribbon. (I used leftover ribbon from a Christmas project… I feel like the addition of the ribbon really helps make it pop. Oh, and it’s sparkly so duh.) I have yet to master the “real wreath bow” making. You know, those super gorgeous, loopy ones? So I stick to the simple bow tie. If anyone has tips on how to make beautiful wreath bows - please help a sister out.

Ta daaaa! Here is my finished, 5 minute Valentine Grapevine Wreath. It cost me a mere $5 and can easily be recreated. So get on that… it’s not to late for one last valentine decoration this year!

2 cats & chloe: valentine burlap banner  //  DIY Wreath  //  Grapevine wreath

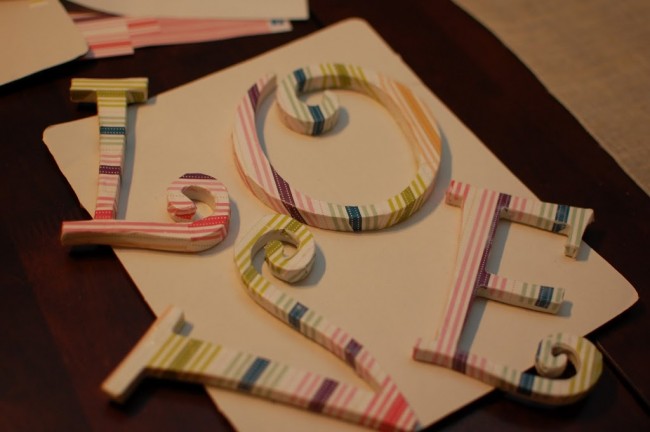
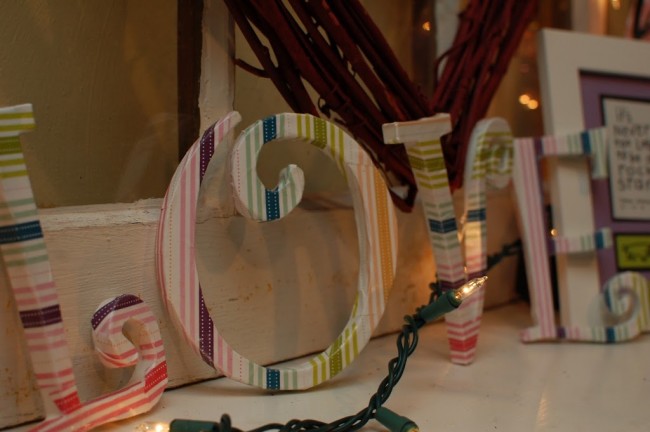
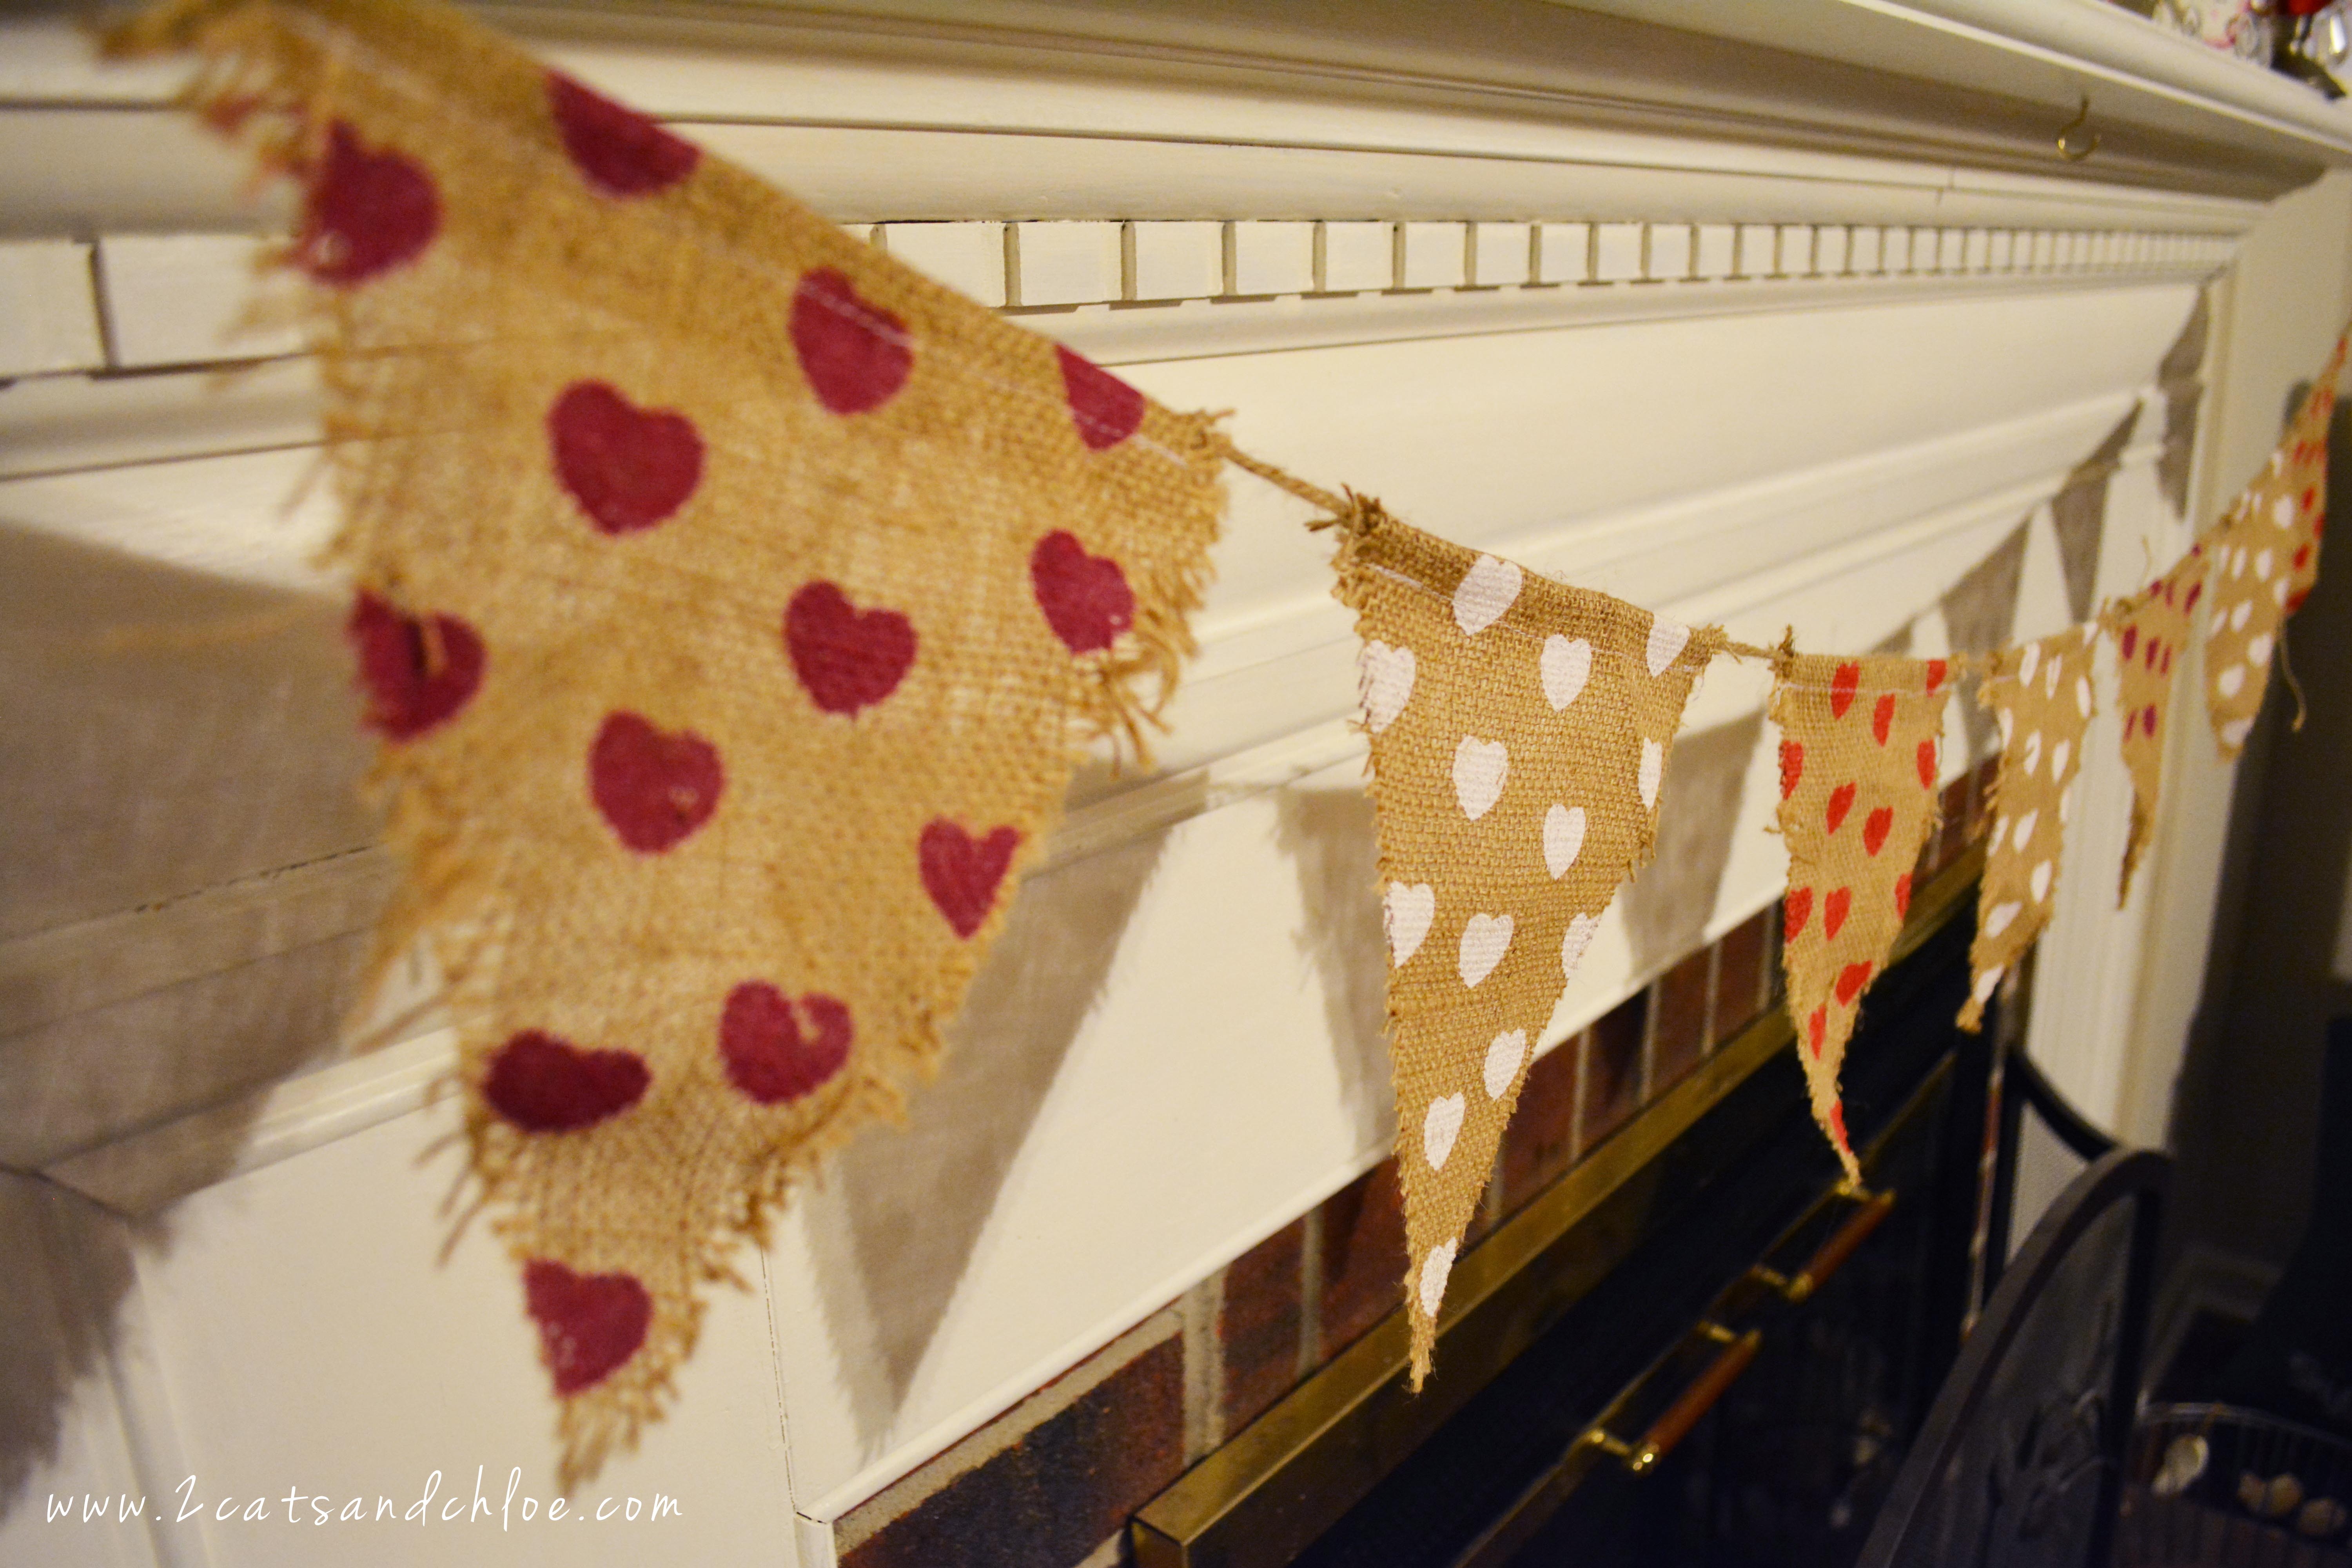
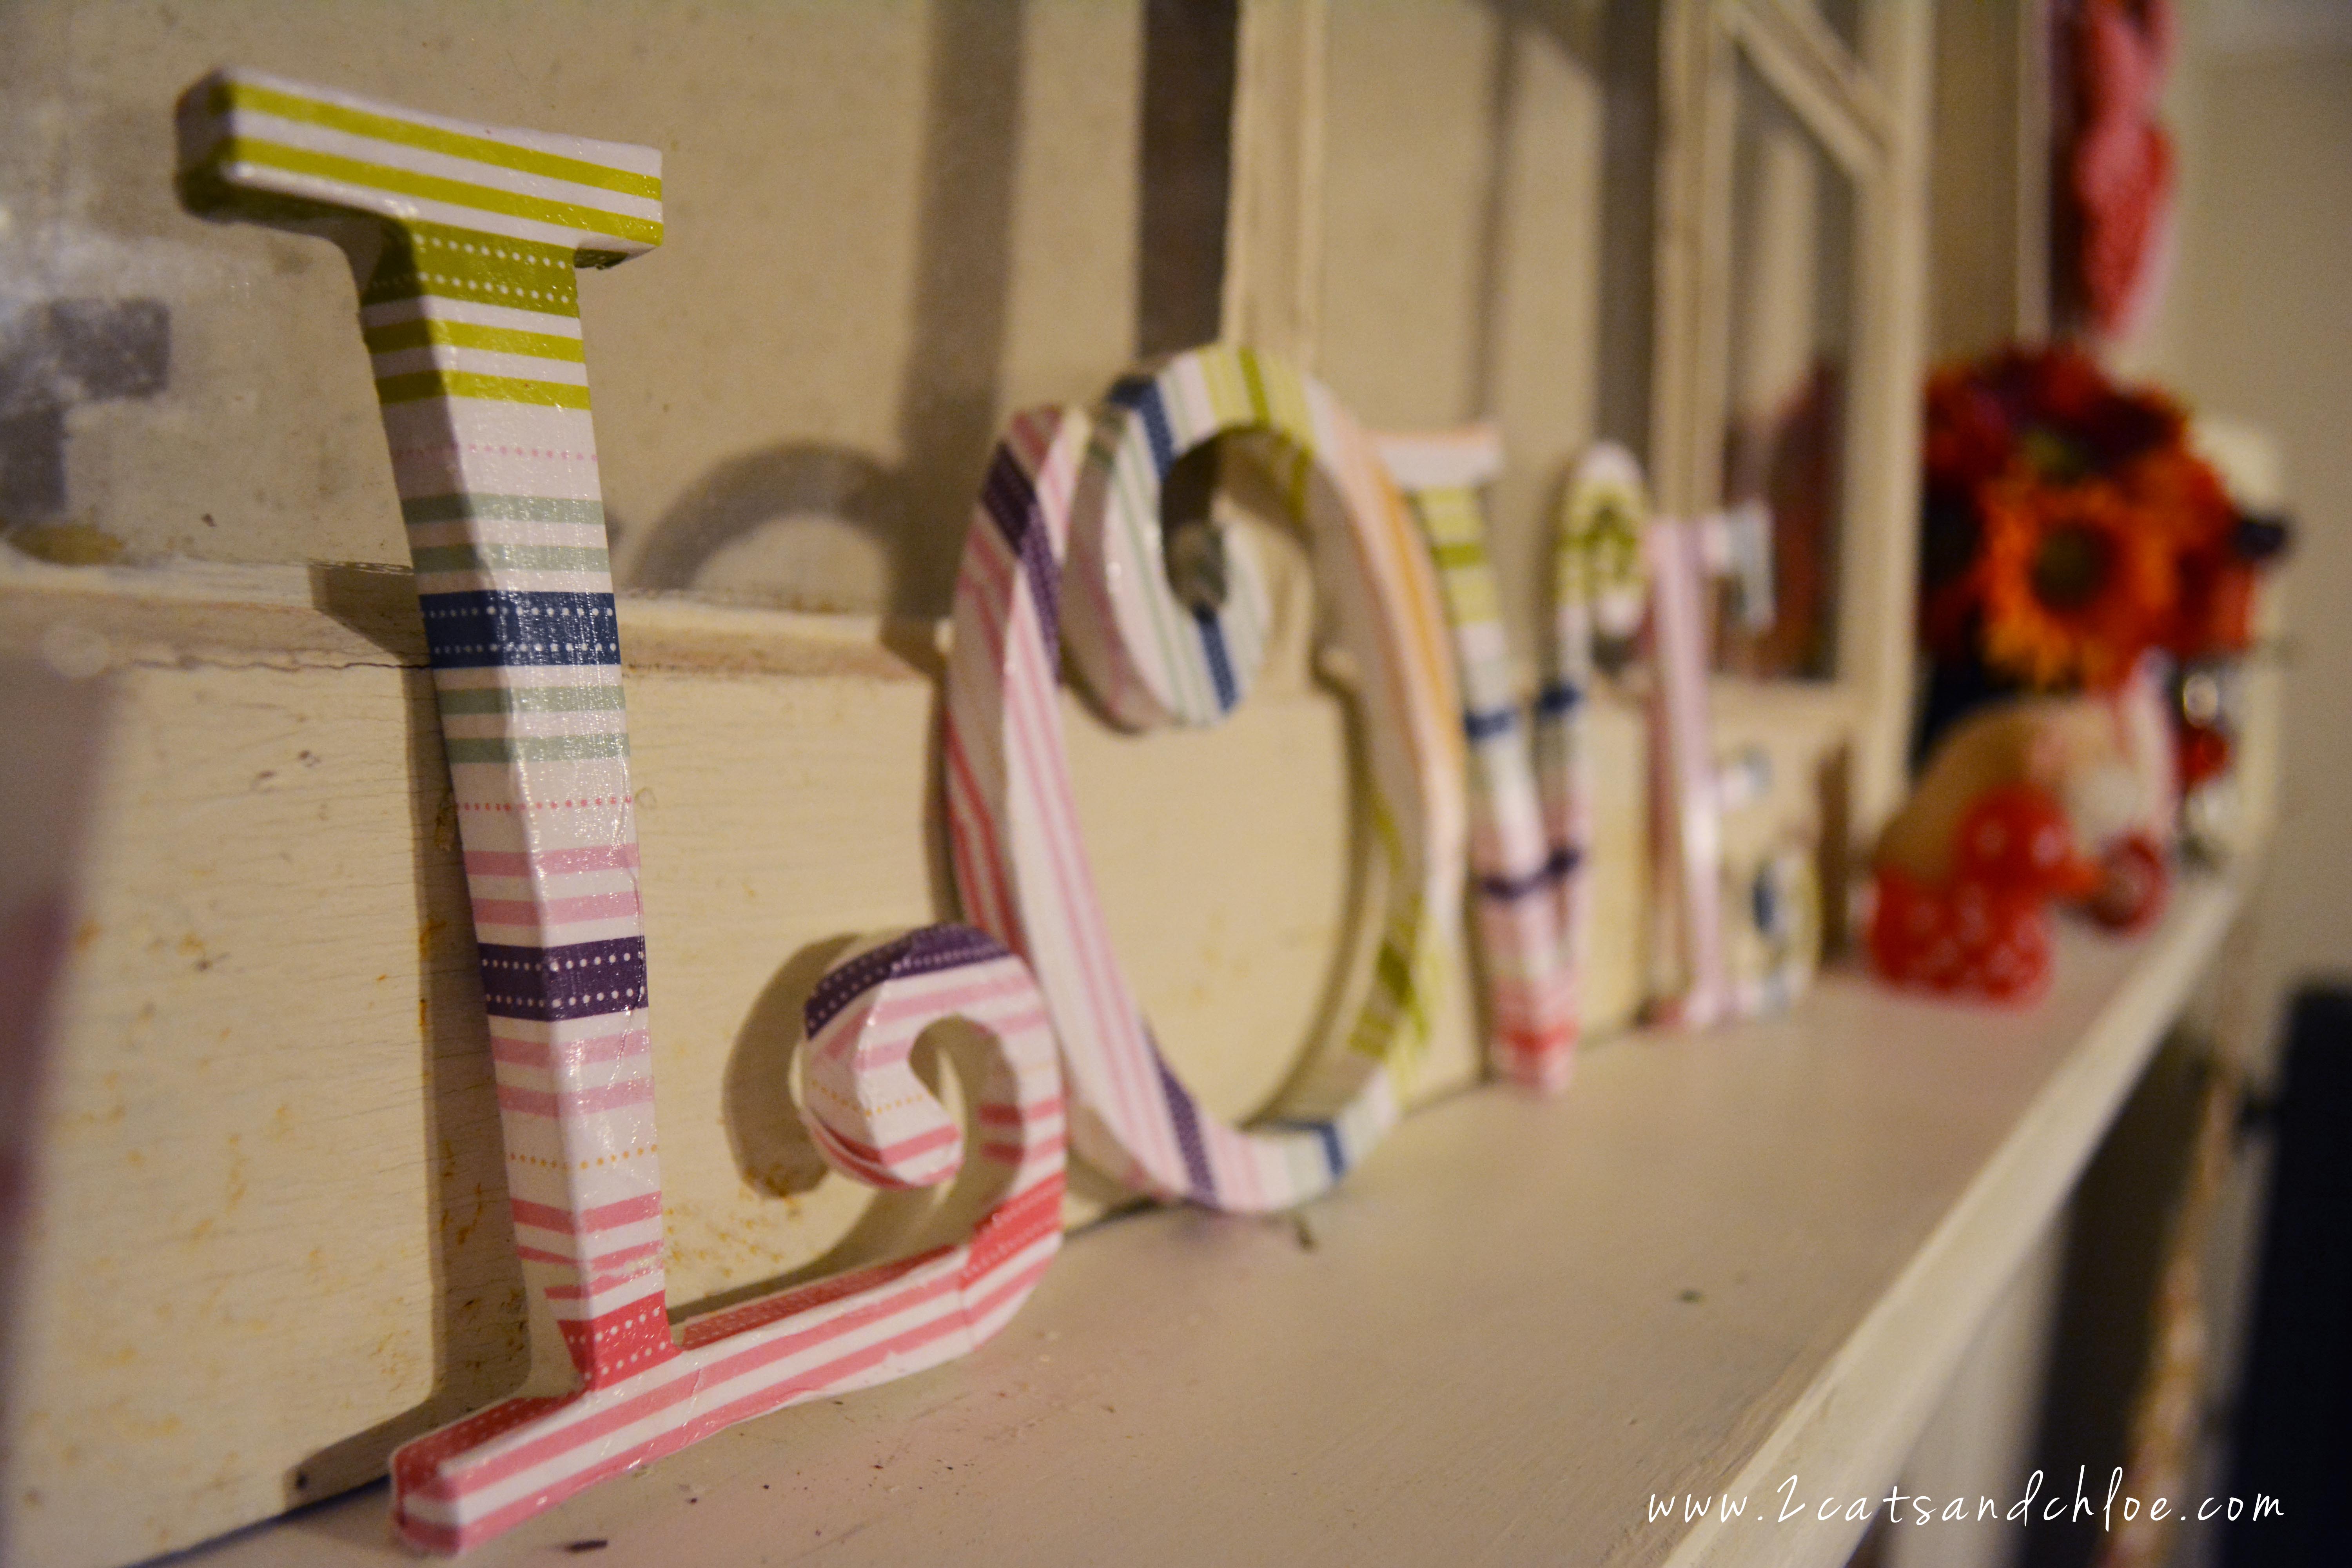
And because a have a few more cute valentine-y decorations up… heres a little sneak peek of a couple more projects you can easily recreate as well! I love my burlap heart banner and “Love Letters” that are simply covered in scrapbook paper!

What Valentine’s projects did you do this year? Do you have any plans with your significant other this weekend?

As always, thanks for joining stopping by and joining the linkup fun! Let us know what you think about the podcast! Like I said, I found this information extremely helpful and I think you will as well. Now you know the drill - get to it and have a wonderful week!
2 cats signature
*I’m linking up here today!
 Loading InLinkz ...

CELEBRATE SOUTHERN: Cotton and Magnolia Thanksgiving Setting

Yes, I’m that girl. The girl who has her Thanksgiving tablescape in mind a month or so prior to the holiday. I also had my tables moved and set last week. Yes, LAST WEEK! A week and a half prior to Turkey Day!! You see, I suffer from the occasional bout of anxiety, and having our tables set and ready, put me at ease and allowed me to be a bit more creative and a lot less stressed. So today, while we are Celebrating all things Southern - I want to share my place settings for Thursday with you!

Do you remember a few weeks ago when I “borrowed” a bucket or two of cotton from a Carolina farmer? Remember how I wasn’t really sure what I was going to do with the cotton branches? Well… I think they were put to great use! Who knew that Magnolia leaves and Cotton Plants paired so well to form an elegant, festive look?

Cotton Plant at Place Setting How to use cotton in decor Golden Magnolia Leaf for Thanksgiving

As you can see, I put some of my golden wedding decorations to use for this table setting too. {I have 200 gold chargers in my closet in case any one needs to rent them!} I also used a few of our left over golden glitter votives, because what’s a celebration without a bit of glitter?? The burlap runner was actually cut off of a humungous spool of burlap from Liz’s wedding {that her mom gifted me at the end of the night! i.e. best gift ever!}

I did swing by World Market this past week and found a great deal on these burgundy cloth napkins, a wine bottle turkey outfit, and these oh so fun gold and white striped candle sticks!

While I LOVE decorations and awesomely creative centerpieces, I feel like the excessive details are not 100% necessary for Thanksgiving. My table, while it looks nice, does look a bit “empty” in the eye of this event planner. But that was done for a reason. We are a “pass-the-green-bean-casserole” kinda family. We try to put as much food on the table as possible, rather than plating up in the kitchen like we do for normal dinners.

Thanksgiving Pligrims

I spray painted magnolia leaves {again, “borrowed” from my parents’ front yard} with a metallic gold spray paint, and then used a sharpee to write little notes on them. My favorite being “Gobble Gobble!” My original plan was to write each person’s name on them in a fancy font but as it seems, our guest count keeps changing and I didn’t want anyone to feel left out.

Give Thanks - Thanksgiving Place Settings

And since I do not like to waste great crafting supplies, I threaded a few more cotton balls and hung them on our wedding wish tree! I absolutely adore the rustic, yet chic look of the cotton plant as a decorative piece. I highly recommend you “borrow” some for your own home next year!

Wish Tree for Thanksgiving Holiday Tree for Thanksgiving Thanksgiving Table Scape Cotton and Magnolia for Decor

Are you hosting Thanksgiving at your house? Do you have anything special planned for your decor? I’m really excited to bring together both families, lots of food {including gluten free stuffing!!} and tons of pies and sweets. Tis the season y’all!

Southern Bloggers Linkup Celebrate Southern

Now join the Celebrate Southern fun! Share a Southern-Inspired post of any topic! We welcome and love posts about crafts, fashion, home decor, recipes, holiday traditions, pets, and even reviews of great southern restaurants and cities! Grab a button and link up below! Then come back later this week… Olivia Benson is taking over my blog! {Yup, you read that right! See you then!}


 Loading InLinkz ...

Easy Crafty Gift for your Man!

First and fore most, I want to take a hot minute to thank all of you for your wonderful comments and emails these past couple of days!  Your love and support means the world to me.  Thank you times a million.  Now on to the promised craft project! 
So you say you wanna be crafty and make something inexpensively for you dude.  Or your dad.  Either one.  For Valentine’s Day I decided it was time to bust out the glass etching supplies to make a personalize beer mug for Michael.  If you have not embraced the craft of glass etching yet, don’t fear.  It’s easy peasy!   Let me walk you through it…
Here’s what you will need:
A mug.  I got mine at the Dollar Store.  Hot find!
Glass etching cream.  $5 - $15 at the craft store.  You want to be sure you get the permanent kind that can be washed. 
A paint brush to apply the cream.
Painters tape.  (To tape the stencil onto the glass)
A craft knife to cut the stencil out of the tape.
If you don’t have a stencil maker or you don’t want to buy stencils, you can make them like I did.  See below.

First I printed out his initials.  Then I realized I made a poor decision with the font… the letters had super skinny parts.  So I reprinted it with an impact font.

Tape the blue painters tape to some cardboard (or the back of an old notebook like I did).  Then tape the printed initials on top of it.  Use a craft knife to cut out the letters.  Then when you pull off the print, you will have the letters in the blue tape… ie your make-shift stencil!  OR if you are cooler than me, you can uses your craft cutter and save some time.  This girl would LOVE the Silhouette one day!

husband gift: diy etched glass beer mug

Apply the etching cream.  Read the directions on the cream to see how long it has to stay put.  Mine was only 60 seconds.  Then wash it off, per the directions of the cream.

diy gift for your man

And then… Ta-daaaa!  What do you think?!  I honestly don’t know if my boyfriend will ever use it, but I thought it was an awesome project!  AND - doesn’t he have the coolest initials for someone who loves working on cars?  MPG - Miles Per Gallon.  I find it humorous.  :)

etched glass beer mug
Was that simple, and cheap enough for you?  Think of the glass etching possibilities!  I have done a casserole dish.  Ooooh!  You could do wine glasses for Mom’s Day along with a bottle of wine?  Let me know if you have any questions or awesome ideas of what I should etch next! Have a happy day friends!  

Baby Shower Gift: Pinned It, Did It!

I am slightly embarrassed it has taken me THIS LONG to post this post.  (However - none of you virtual friends actually know how long ago I did this project in real life so I should pretty much stop talking now, right?)

Anyhooooo - I was sooo excited to finally use something that I pinned!  (For those of you who have not jumped on the Pinterest Bandwagon yet - let me explain:  It is this site, where you can find magnificent, creative, funny, terrific ideas that others have put on the internet.  And you can pin said ideas on your virtual bulletin boards for safe keepings.  All caught up now Mother?  Good.)

Months ago I found this when looking for baby shower gifts on Pinterest:

So really, how cute is that?  I guess I would call it a lollipop arrangement.  It has towels and cloths and some essentials all wrapped up in it.  When I saw it I knew I needed to make this for my friend Katie’s baby shower! 
The Craft Patch made it so easy with her step by step directions, all I really had to do was put it together in pink!  Since her directions were so simple and well explained, there is no point in me retyping them here.  So get your booties over there to see the original!  
Still wanna see my photo montage of the project though? 
 Good.  Because here we go!  
Some of the supplies!  Ready to roll up the hooded towel from Target!  I also used wash clothes and burp rags.

This really was simple.  Just a lot of rolling one way, then the other!

To stabilize the “lollipops” I used green floral foam from Michaels. 

I decided that putting it in a plastic bag was smart.  It kept the green foaminess under control.  That stuff can get unruly sometimes. 

Like she said in the original directions - tape the dowel rod into the plastic bag.  I had bought clear, plastic, gift basket wrapping paper, but luckily I had these small gift bags left over from something.  The gift basket plastic just wouldn’t work for me.  The bag was perfect for taping it in!

In addition to towels, like I said, I had bought some small wash clothes, not sure what I was going to do with them or how big the actual lollipops would be.  These seemed too small to make into lollipops so I decided I’d make them look like little candies to sit in the bottom of the arrangement! (This is considered my little add-on to The Craft Patch’s original!) 

Roll them up and pin them like she described for the larger lollipops.  Then stick them in the clear bags and tie each side.

Cute and simple right? 

Are you ready for the finished product?!?  Can I get a drumroll please?!  Because let’s be real - I was absolutely thrilled at how cute this turned out!  I ran into my roommates room to show it off every 3 minutes! 

The pink and beige box was only a couple dollars (Target Clearance! Woot!) and I put a soft (again, clearance) blanket around the base of the pops!  What do you think!?

And the momma-to-be’s reaction?  Pretty sure she loved it!  Along with all the other ladies at the shower!
diy gift for baby shower
So when is the next baby shower you have to attend?  Why not be awesome like me and the brilliant lady over at The Craft Patch and show up with a gift even Martha Stewart would oooh and ahhh over?  
diy baby shower gift
PS. Again - this was not my original idea.  I found it on Pinterest.  The original source, in case you missed all the links I left throughout the post, was The Craft Patch. 

Five Friday Thoughts & Valentine Decor!

Some Friday morning thoughts for you before I grace you with my (as promised) Valentine Mantel “Presents!”

1.  I am drinking decaf coffee, trying really hard to pretend it is a cup of Bourbon Street Vanilla Rooibos Tea.  Coffee without flavored creamer is tough for me.

2.  Speaking of tea… I am excited to find out who will win this at noon today! 

3.  I am horrified by the Josh Powell Story on the news.  (putting the word “horrified” in the largest possible font doesn’t even begin to tell you how awful that story is.)  Many prayers for the family and friends affected by this monster.  What a tragedy.

4.  The doctor says my body is alright.  I am beginning to think my illness is related to stress and anxiety. :(

5.  Tomorrow I am going to Richmond to see Christen and cook food all day long for the soon to be brand new mommy, Katie!!  :)

Now - on to the last of my tiny valen-tiny decorations! 

Letters were on sale a Michaels…  


And so was scrap booking paper!

Thank you Modge Podge! :) 

I change this glass candle holder out seasonally.  It went from this… 

… to this!  (Candy hearts from the Dollar Store!  Cute and Cheap!  Score!)

I have seen Valentine Printables floating all over Pinterest, but I decided to make and frame my own!  Want to print it for your house?  Shoot me an email and I will send it to you!  2castandchloe@gmail.com 

The finished lovy dovy mantel!

What do you have planned for Valentine’s Day?  Or are you letting your significant other do the planning?  Are you celebrating it this weekend or on Tuesday, or maybe next weekend like Mike and I?  I still have a bit more crafting before I can give him his present so I am happy that I have an extra week! :)  

xoxoxo.