2 Cats and Chloe

a lifestyle blog: clean eats, adventures and glitter

  • About
    • Contact
  • Clean Eats
    • Whole30 Approved
    • Paleo
    • Gluten Free
  • Travels + Adventures
    • Virginia is for lovers
  • Glitter
    • Organic Hair Care
    • Home Decor
    • Celebrations
    • My Wedding
    • We’re Pregnant!
    • diy
    • #whatsuziewears
    • Things I Love.
    • Holidays
  • Work With Me
    • Blog + Branding Consults

Easter is in 2 weeks!

April 12, 2011 by Susan 1 Comment

I cannot believe how quickly this year is flying by!  And when I say flying, I pretty much mean soaring!  I’m still stuck in “January World” and just realized that we are already eleven days into April.  That’s almost half way!  That’s almost May!  Which only means one thing… it’s almost Easter!

Somehow the season that revolves around the most miraculous guy ever, Jesus, of course, also revolves around fuzzy little bunnies and pastel colored eggs.  Gotta love it.  If I was the creator of the universe I would totally want to share one of my “big days” with yellow marshmallow peeps.  But if that brings people joy, then I’m all about it.  I’m also all about decorating my house in fun colors!

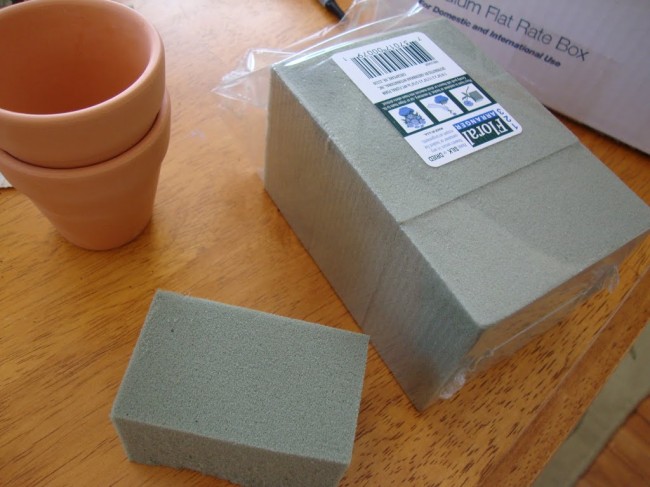
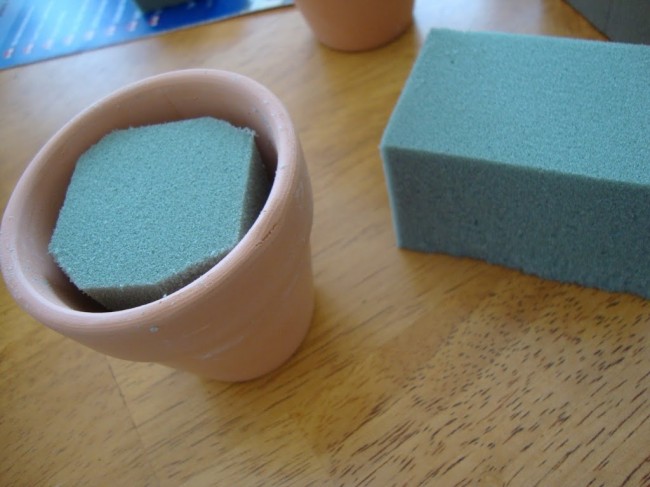
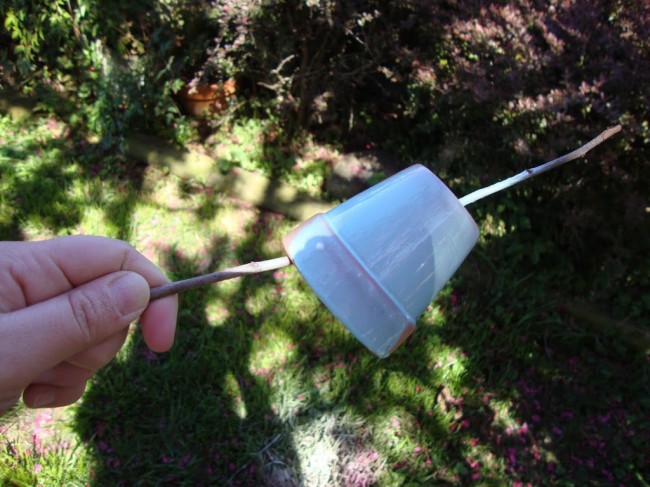
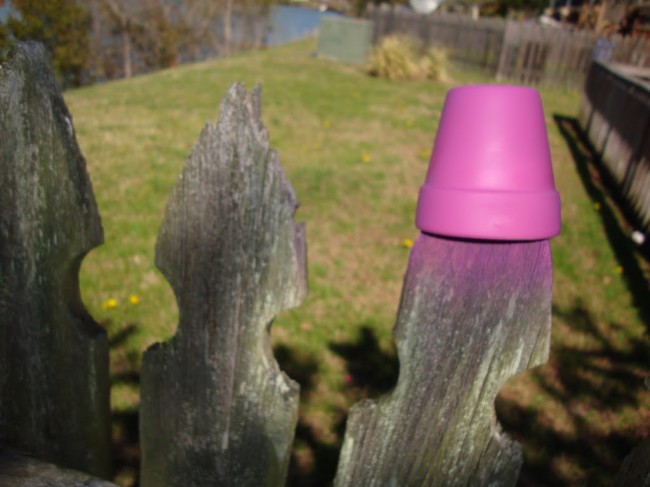
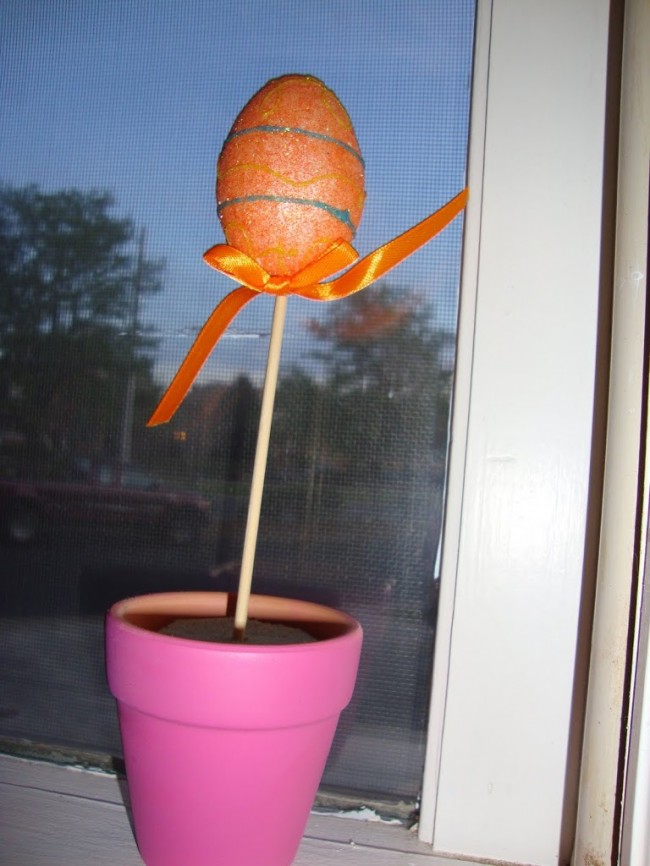
I saw this project idea on Heather’s blog (turn up your volume if you go to her page, she’s got some lovely tunes playing!)  For Valentine’s Day she did the cutest little project for only a couple of dollars!  Check out these cute little pots with hearts!    So I decided to steal the idea and do it for Easter!  Although, I JUST went back to her blog to get the link and noticed she changed her hearts to the SAME EXACT EASTER EGGS AS I DID! :)  Gotta love the dollar store!  Anyway, check out my version of the project!

The eggs - 5 of them, already on sticks, for $1.

The Flower Foam - All this for $1 and I had plenty left over.  The cute little pots were 3 for $1. 

I simply cut the flower foam to fit into the little pot.  Super easy my friends, not rocket science at all!
Since I’m not a master spray painter I need a plan when it came to the spraying.  I was also way to lazy to go find a card board box to spray them in… 

Twigs seemed to be the best bet. This was Michael’s contribution. :)

The fence was my idea…

Woops.  At least it’s pink though! :)
Crappy picture, I know, but it was getting dark by the time I remembered to take a close up photo!  
Can you see all the eggs on the window sills?  They look super cute when you are walking up to the house!  
So special thanks to Heather for the awesome, inexpensive idea!  I love it!  I can’t wait to change them out with starfish and seashells for summer! :)  
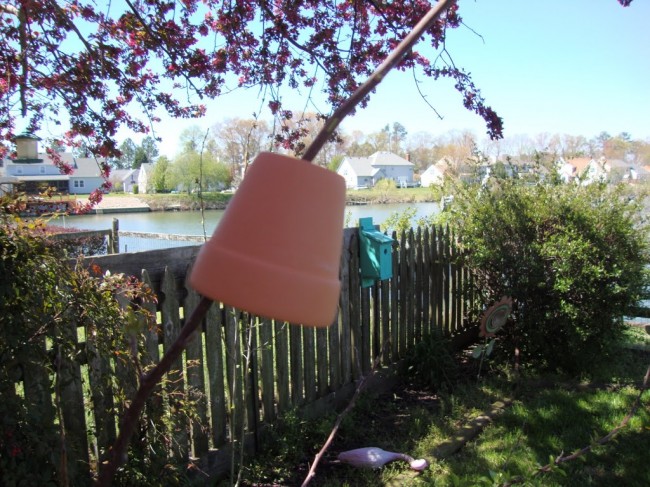
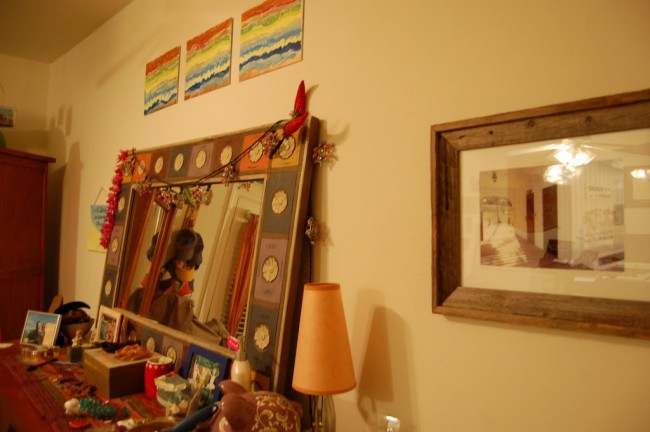
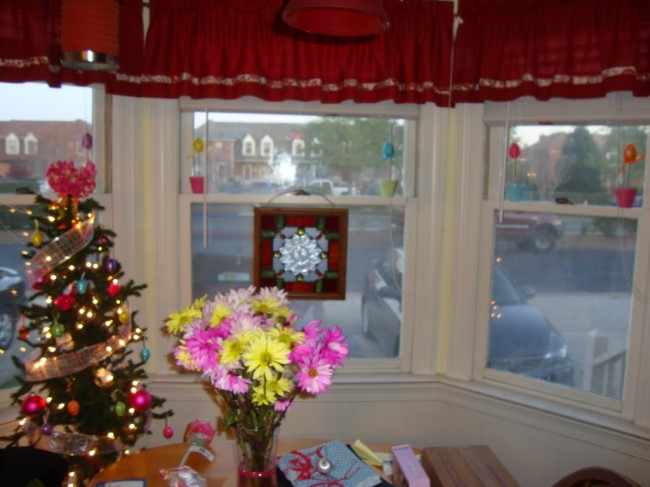
Stay tuned for tomorrow’s post with close ups of my Easter Tree also featured in the picture above!  It’s amazing what a few bucks at the Dollar Store can get ya!  (And if you have not been to the Dollar Tree by Sam’s Club in Greenbrier, you need to go!  It’s the best Dollar Store I’ve ever been to!!)

Filed Under: Crafting, diy, Holiday

BEADS!

April 1, 2011 by Susan Leave a Comment

It’s been a while.  I’m so sorry.  My new project blog has been keeping me very busy, along with work and life.  Did you know that it has been raining here (on and off, but mostly on) for almost five days?  And it’s COLD.  Hellooo April I suppose.

Anyway, I wanted to share my craft from last night!  My mom hosted a beading party.  I was a little hesitant when she first invited me, thinking it was going to be one of those parties where you feel pressured into buying something.  Totally not the point.  You have to know, going to this party that you will be spending $20 to MAKE your OWN bracelet.  The lady does not pressure you into buying her stuff, you get to craft and make your own!

I have not been a big fan of the pandora style bracelets.  I hear they are super expensive (like $500 plus!) and yeah, not quite my style.  Honestly, I thought it looked a bit “older generational” but when I got there.  But then I started playing with the beads, I loved it!  I loved it so much that I made (and purchased) two bracelets!

Beading and chatting at my parents house!

The purple and yellow/gold one was my first one!  I went to JMU so of course I would do this color combo!  Everyone loved it, even if they weren’t Dukes! :)

My Grandmother had a great time beading.  She found a red one she loved and tried to duplicate it for herself.  It ended up matching her pretty fingernails very well!

Rennee the bead lady was super helpful!

Tons and Tons of beads kept coming out of her Mary Poppins Style bag!

Sorry it’s blurry, this was my second bracelet.  A bit more summery!  And I even put two charms on the end of it, a bike and a turtle!  So fun!

Filed Under: Crafting, diy

It feels like summer!

March 18, 2011 by Susan 2 Comments

Oh Em Geeeeee.  I LOVE warm weather!!  Did you realize how warm it is supposed to be today?  80 degrees here in Chesapeake, Virginia.  We are finally catching up to the temps that my friends in Australia have been enjoying!  (But it’s such a tease because the next few days will be back in the 50s and 60s again… lame.)

Anyway, before I head to my meeting and then take the top off my jeep (after work… of course…) I wanted to share my It-Feels-Like-Summer Craft!

This one is super easy and I get sooooo many compliments on it!  In 2006 when I traveled to San Antonio, Texas I saw something similar.  When I got home I knew it was going to be on my crafting to-do list!  Check it out:

diy ribbon wreath

Please excuse the fact that it is a little faded (it is several years old…) and the door with paint peeling off of it.  (The neighborhood association has yet to catch me on that!  But it is also on the to-do list, don’t worry.)  So what do you think?  The supplies are simple!

— A grapevine wreath (I got a bunch on sale at Ben Franklins for only a few dollars each)
— Ribbons galore!  All types of colors, prints, patterns!  Whatever your heart desires! (I recommend checking out the dollar section at Michaels… they have some cute, cheap options.)
— And scissors!  That’s it! 
Pick your ribbons!  Like I said, be creative!  I have made a few of these wreaths before.  I love my colorful random one shown here, but it might not match everyone’s houses like it does mine.  I made a red, white and blue one for my mom since her birthday is July 3.  And I made one for a little girls room, with a smaller grapevine wreath, with pink and yellow ribbons.  You can also cut the ribbons to be all different lengths.  Most of my are close in length with a few random, shorter ones.
colorful ribbons

No glue necessary!  All you have to do is double the ribbon and loop it!  Fold it in half and loop it through so it knots on.  Easy Peasey!

ribbon wreath

Scatter the ribbons around so they hang in different parts of the wreath and ta-daaaa!  You’re done!  

diy summer wreath
grapevine ribbon wreath
I guarantee you that you will get compliments on this wreath!  If you make one, send me some photos!  I’d love to see what colors you go with!  

Filed Under: Crafting, diy, Home Projects

My mom said I couldn’t…

February 3, 2011 by Susan Leave a Comment

So last week my mom and I were walking through the Hampton Roads Convention Center and they had art hanging on the walls.  Some were beautiful paintings and some, well, not so much.  There were creative ones and simple ones and colorful ones and grey ones.  I was admiring a colorful abstract one when I proclaimed to my mother “I wish I could paint!”  Her quick, and quiet response “You can’t do that.”

I was shocked!  Aren’t your parents supposed to give you words of encouragement?  Doesn’t this fall under the “Ugly Child Syndrome” somewhere?  ( UTS is a theory I developed as a teenager that has never been proven wrong… I will have to make a post about this in the future though.)  And where does she get off by saying “you can’t do that” when I have never even tried to paint?!  I guess she is thinking back to the days of finger paints, paint by numbers, and those paintings where you used water and it turned a color on the paper… But this is years and years beyond those days.  Yeah, maybe I never took art classes in school, but that was because I was in music classes.  I think it is really too bad that you cannot some how squeeze both into your middle and high school years.

So anyway after work I headed straight to Michaels (the craft store, not my boyfriend’s house) to buy some paints and all the supplies I thought I would need.  I got home, and with the encouragement of my roommate, I began to paint.  I had NO clue what I was doing, or what I was creating, or what in the world blending blue and green paints would look like… but I was painting!!

I’m not too sure about the finished product yet.  My roomie said she liked it, a lot actually.  I think she was just being nice.  None the less, I hung my new art on my bedroom wall.  I’m not sure how long it will stay there, or even if I like it quite yet… but my mom was wrong, I can paint.  And if I can, I’m pretty sure that just about anyone can.  Check out my work:

The coolest part is that you can turn the art upside down or right side up and it makes it look totally different!  When I hung it on my wall, I actually hung it upside down.

Filed Under: Crafting, diy

  • « Previous Page
  • 1
  • 2
  • 3
  • 
  • 
  • 
  • 
  • 
  • 
Follow on Bloglovin

Sign up for my Newsletter

Instagram

Looking for something?

Popular Whole30 Posts

  • CELEBRATE SOUTHERN: Whole 30 + Paleo Sweet Potato Fries

    CELEBRATE SOUTHERN: Whole 30 + Paleo Sweet Potato Fries
  • Whole30 Approved: Mint Cranberry Lime Spritzer

    Whole30 Approved: Mint Cranberry Lime Spritzer
  • Whole30 Approved Hot Wings!

    Whole30 Approved Hot Wings!
  • The Soiree: Burger Bar Party + Giveaway

    The Soiree: Burger Bar Party + Giveaway
  • Whole30 Questions and Essentials!

    Whole30 Questions and Essentials!
  • Day 15: Whole30 Results and Turkey Meatloaf Recipe

    Day 15: Whole30 Results and Turkey Meatloaf Recipe
  • Recipe: Whole30 Approved Prosciutto Wrapped Asparagus

    Recipe: Whole30 Approved Prosciutto Wrapped Asparagus
  • Whole30 Thai-Inspired “Pad See Zoo”

    Whole30 Thai-Inspired ´Pad See Zoo¡
  • Tuna Salad Cucumber Bites // Whole30 + Paleo

    Tuna Salad Cucumber Bites  //  Whole30 + Paleo
  • Holy Zoodles! Whole30 Paleo Shrimp and Veggie Lo Mein

    Holy Zoodles! Whole30 Paleo Shrimp and Veggie Lo Mein

Categories

2 cats and chloe clean eats, paleo, whole30 glam, classic wedding, glitter wedding diy projects on 2 cats and chloe blog blogger fashion, #whatsuziewears home decor and home style celebrations, parties, creative events travel blog, lifestyle travel Image Map
All content and pictures on this blog belong to Susan Geoghegan and the 2 cats & chloe site, unless otherwise stated. If you pin a picture, please give credit. Gracias!

Connect

A wedding planner, marketing junkie, and blogger. Obsessed with clean eating, glitter and adventures. Whether it is her home, her work, parties, conferences, projects or her style - Susan's goal is to appreciate everything and everyone around her, while making life pretty, one blog post at a time. Read More…

inst-happening!

Full Disclosure: All content and pictures on this blog belong to Susan Geoghegan and the 2 cats & chloe site, unless otherwise stated. If you pin a picture, please give credit. Some links on this site may contain affiliate links. Clicking on these links helps support this blog. A "c/o" in front of a product represents that that product was either gifted to me in exchange for the post or I was compensated by said company for my time. However, all posts are my own thoughts, opinions and reviews! Thanks for your support!

Copyright © 2016 · Foodie Pro Theme by Shay Bocks · Built on the Genesis Framework · Powered by WordPress