Do you ever have those days where you feel like crafting but real life gets in the way? Days when you would give an arm and a leg to just play with some glitter and use a hot glue gun for 30 minutes? Today was one of those days for me. I did not have 5 free minutes to do anything other than work, house chores, and googling things about border collie puppies. Priorities right?!
So today, I am recycling a very old post. And when I say “very old” I mean it dates back to at least 2011 when my only reader was my mother and anyone who googled me from my online dating days. I am not a huge fan of recycling posts, but this is a project that deserves a bit more press. Yes, the pictures are super sucky, but I use this jewelry stand every day, and I think you may love it. So let’s Celebrate all things Southern, with this really fun blast from my past: the anti-jewelry box solution.

{Cue the flash back music to Pre-Taylor-Turns-Pop and Pre-Marriage…}
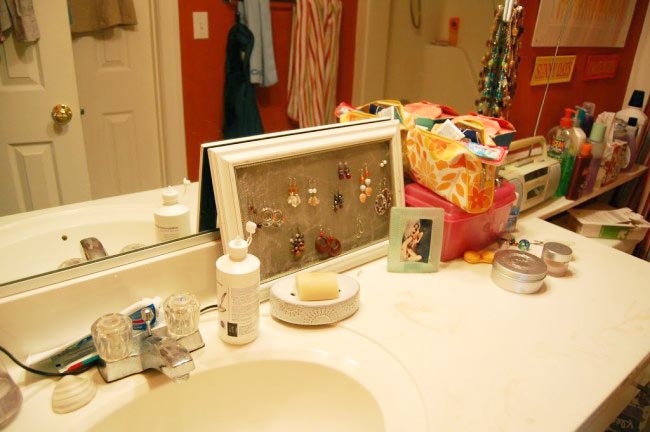
Yesterday you got to see the inside of my messy bathroom and what I did to help organize my necklaces without using the infamous jewelry box. But what about the pile of ear rings? I like to keep my jewelry out, so I can see it, and decide which item I want to use to accessorize my outfits. I’ve been looking for a decent earring holder to display my collection. I have been searching online and in stores for quite some time, but I can only find ugly and/or expensive holders. And there is just something I don’t like about paying $15 to $20 for a small frame like thing with some wire mesh on it. Just like any thrifty (and crafty) tightwad I decided to make one myself!

I found a frame last year at the church yard sale for a mere $1. I had no clue what I was going to do with it, but figured it was such a slick deal I had to get it (along with about 15 other dollar items!)
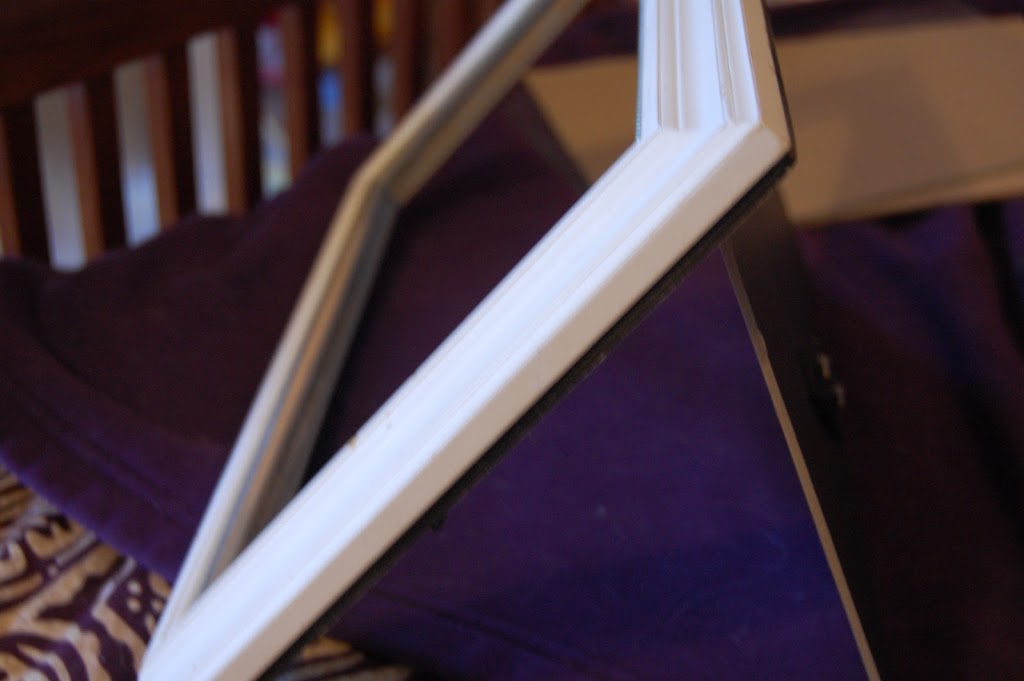
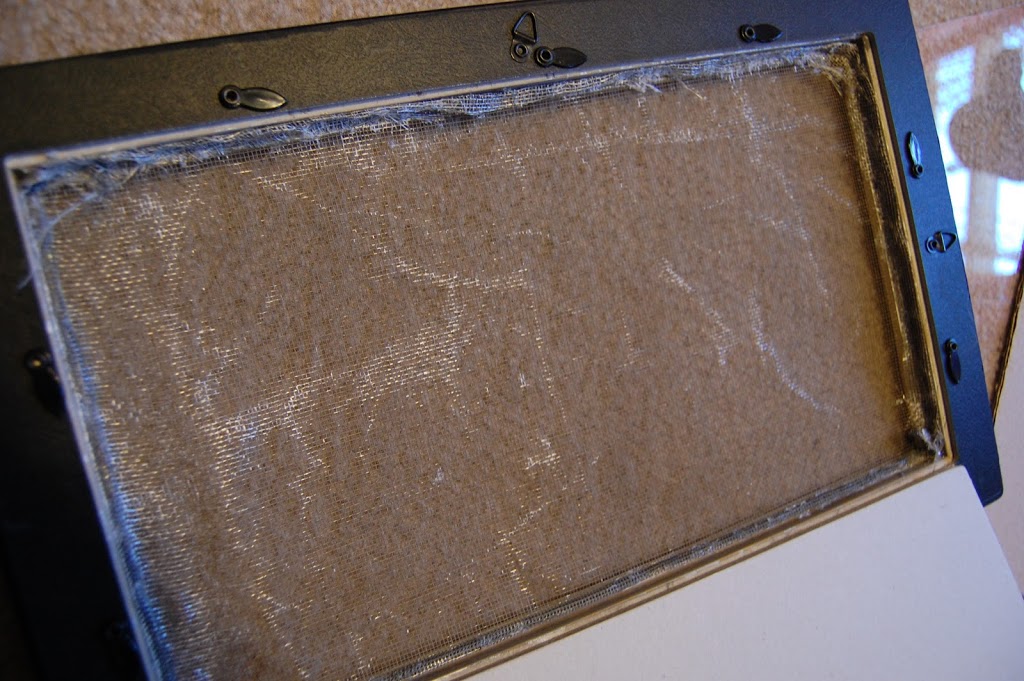
Again, I didn’t know what I was going to do with this frame, but I really lucked out when I discovered that the backing of the frame was one that was attached to the frame itself. Notice how it pulls out in the picture above (right side). This was exactly what I needed and had no clue when I bought it!

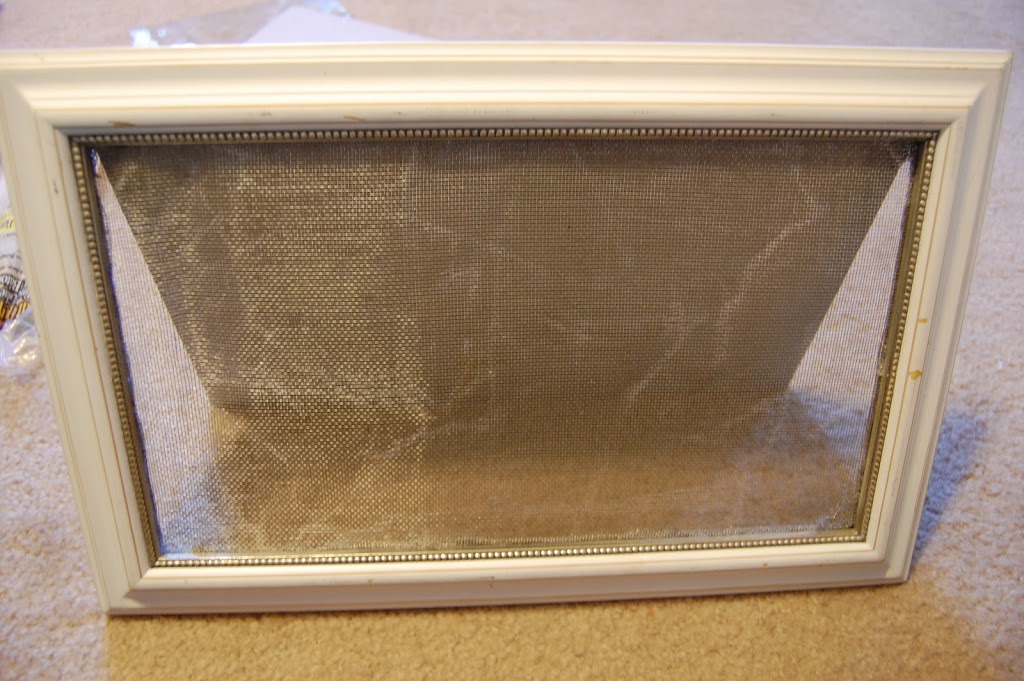
So here’s what you need to do: Take the frame apart by removing the glass and any cardboard that might be in there. Pull out your glue gun, as well as your cat for any kind of assistance you may need. I got some old screening (for windows) from the garage and trimmed it to be a little bit bigger than the piece of glass that I removed from the frame.
Simply run the glue gun along the edge of the frame and press the screen into the glue, making the screen as tight as possible.
And then stand it up and take a look! Ta-daaa! Not too shabby if I do say so myself… But wait, we are not quite done!
I wanted to be sure that my earring stand wouldn’t collapse or fall over so I found some scrap ribbon to use to help secure the backing. Any good crafter keeps a stash of scrap ribbon somewhere in the house. I just so happen to be a JMU Duke so I have purple ribbon just about everywhere!
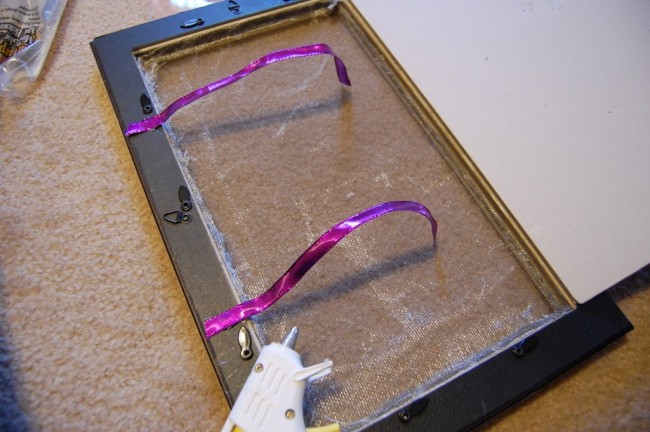
Glue the ribbon the to edge of the frame and then to the back of the backing. It really doesn’t matter if it doesn’t look pretty. No one is ever going to see this. {A note from the future: seriously, no one will see the back of this piece. They will oooh and ahhh about how cool it is, but don’t waste your time on glueing prettily. No one checks out the back of your stand.}

Now when you stand it up, it cannot slide open or collapse any further than then distance of the ribbon. (Just keep in mind when you are choosing the length of the ribbon, you need to be able to get your hand back there to take the ear ring backs off.) Another note from the future: Here’s a tip - don’t worry about the back too much… if they have the inexpensive clear plastic backing, slide the earring backs as far onto the earring as possible, that way you don’t have to deal with putting them behind the screening.}

So there you have it! The construction of this ear ring stand only cost me $1 for the frame! And I had screen scraps and the ribbon around the house. If you have to go out and buy the screening I’m sure the cost would definitely go up. But ask around before you do that. It’s amazing how many people have old, torn, unusable window screens that are in the attic or garage.
Now, to see the finished product, fulfilling it’s life purpose:
Ah, so there ya have it. A blast from the past, but a good ole classic project that I still use ALL THE TIME. I am in the process of upgrading to a larger frame, so I thought this would be a terrific project to recycle for the Celebrate Southern linkup! Now it’s your turn to join the fun! Grab a blog post… any blog post… well, any blog post that belongs to you! And linkup! No, you do not have to be a Southern Blogger… we just love Southern Inspired projects, fashion, recipes, and life in general!

Grab the button or simply ink back to J from Bless Her Heart Y’all and/or myself — and then have some fun! Holler back at either of us if you have any Q’s about this super fun linkup!
Loading InLinkz ...